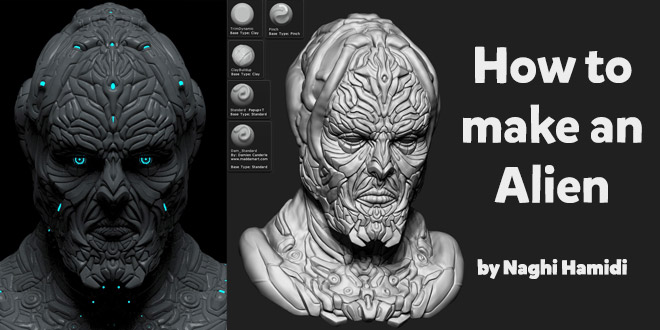
In this short making of, Naghi Hamidi’s goal is to explain the process of creating a detailed humanoid robotic alien from concept to render. He will draw a concept in Sketchbook Pro which he love to work with, will design the character in Zbrush, do the renders in Keyshot and finalize it in Photoshop.
Concept design
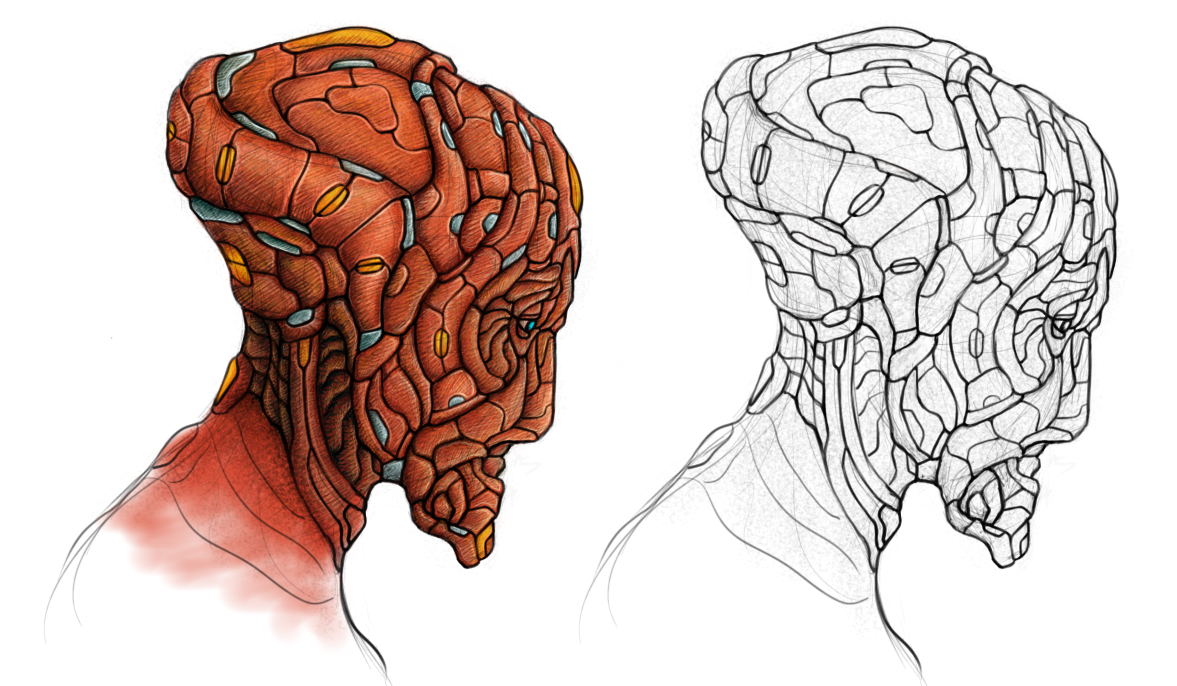
I wanted to design a creature full of parts connected maybe a transformable one. To do this i started sketching in sketchbook pro. Its really fun to use it. First i drew with lines and painted the colors in another layer.
Starting to sculpt
For the begining i used a sphere, turned it to dynamesh and started to block it out. mostly i use the move brush and claybuildup but here i found out that this concept is not satisfying me. so i pushed it forward. played with the bust and made it more complex. but it became more challenging to figure out the shape and connect the pieces together. i really wanted a powerful and serious boss character.
Refining and adding the details
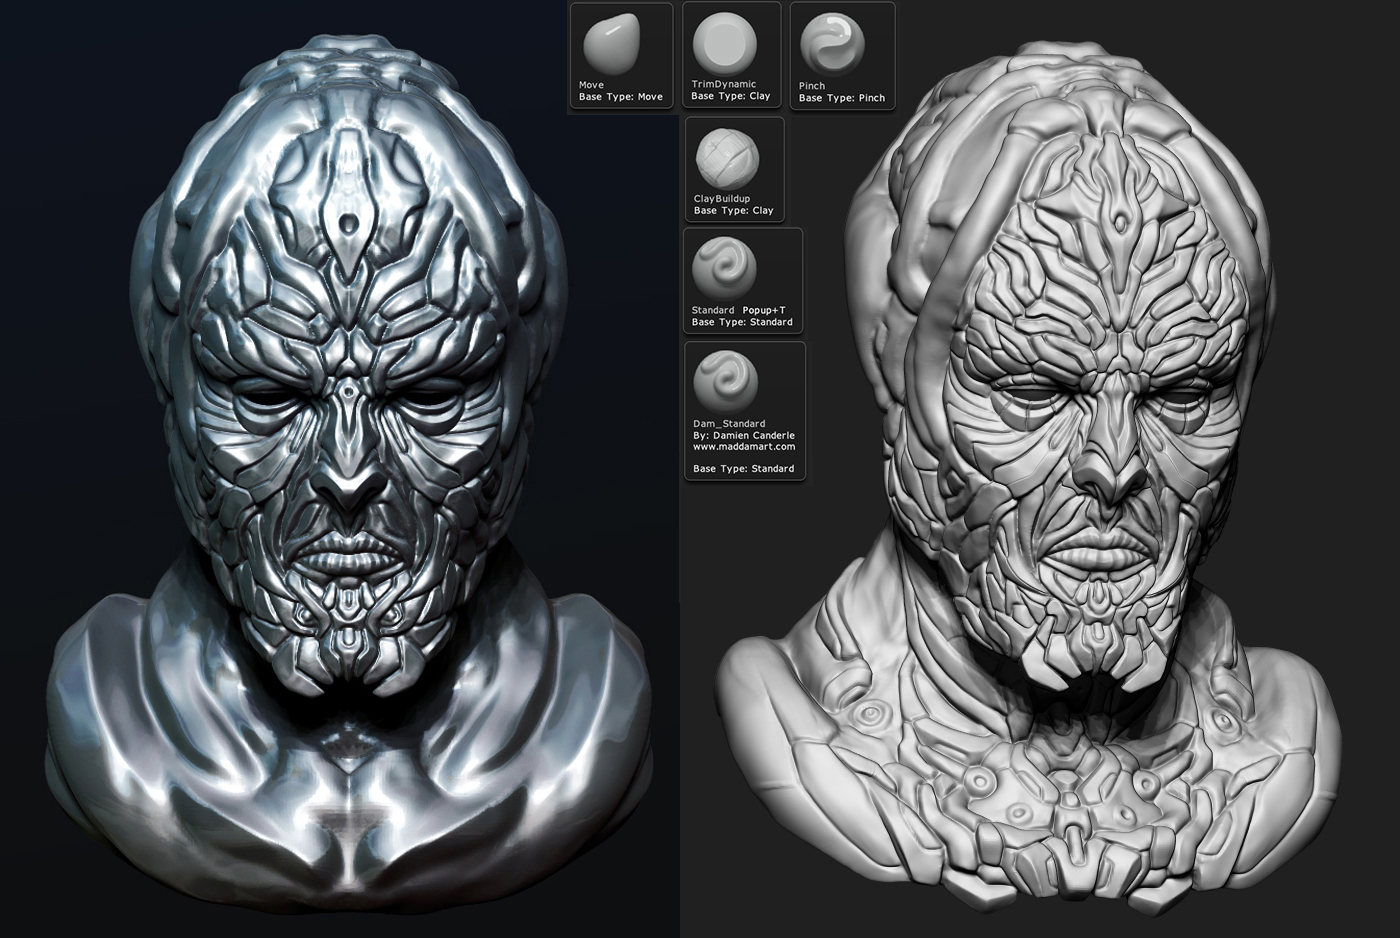
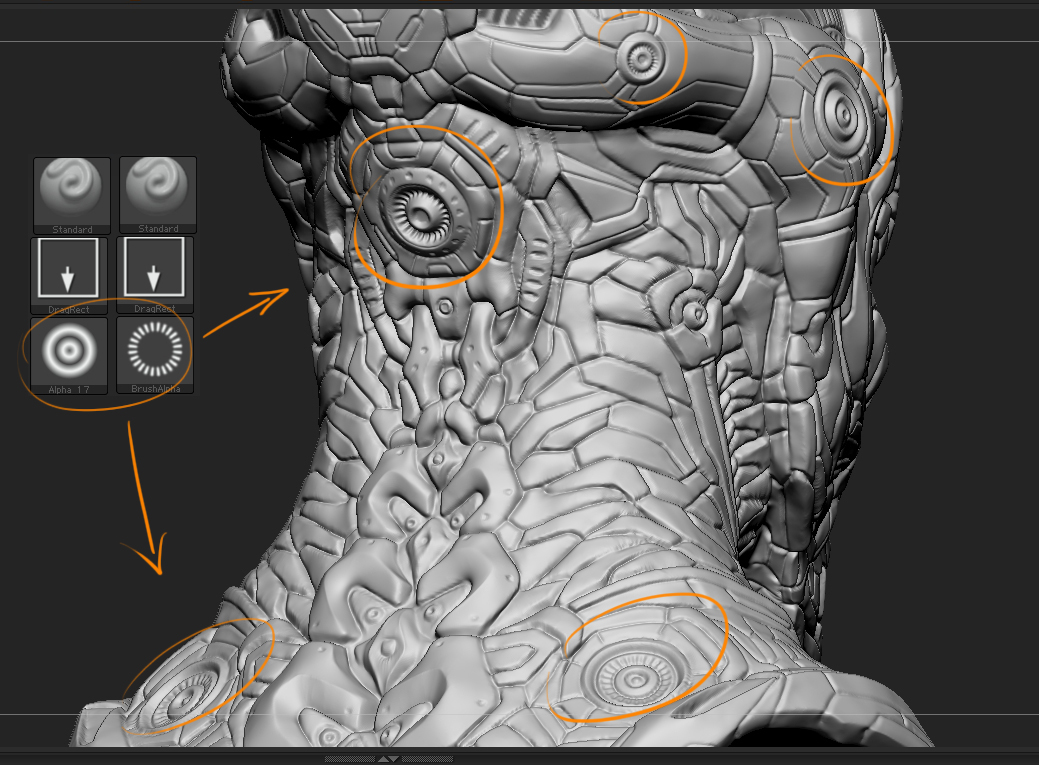
At this level i add more details to the bust so it became more hard to work on and took much time. I used brushes such as dam_standard,trimdynamic, pinch and etc. also a combination use of alphas.thats the fun part.
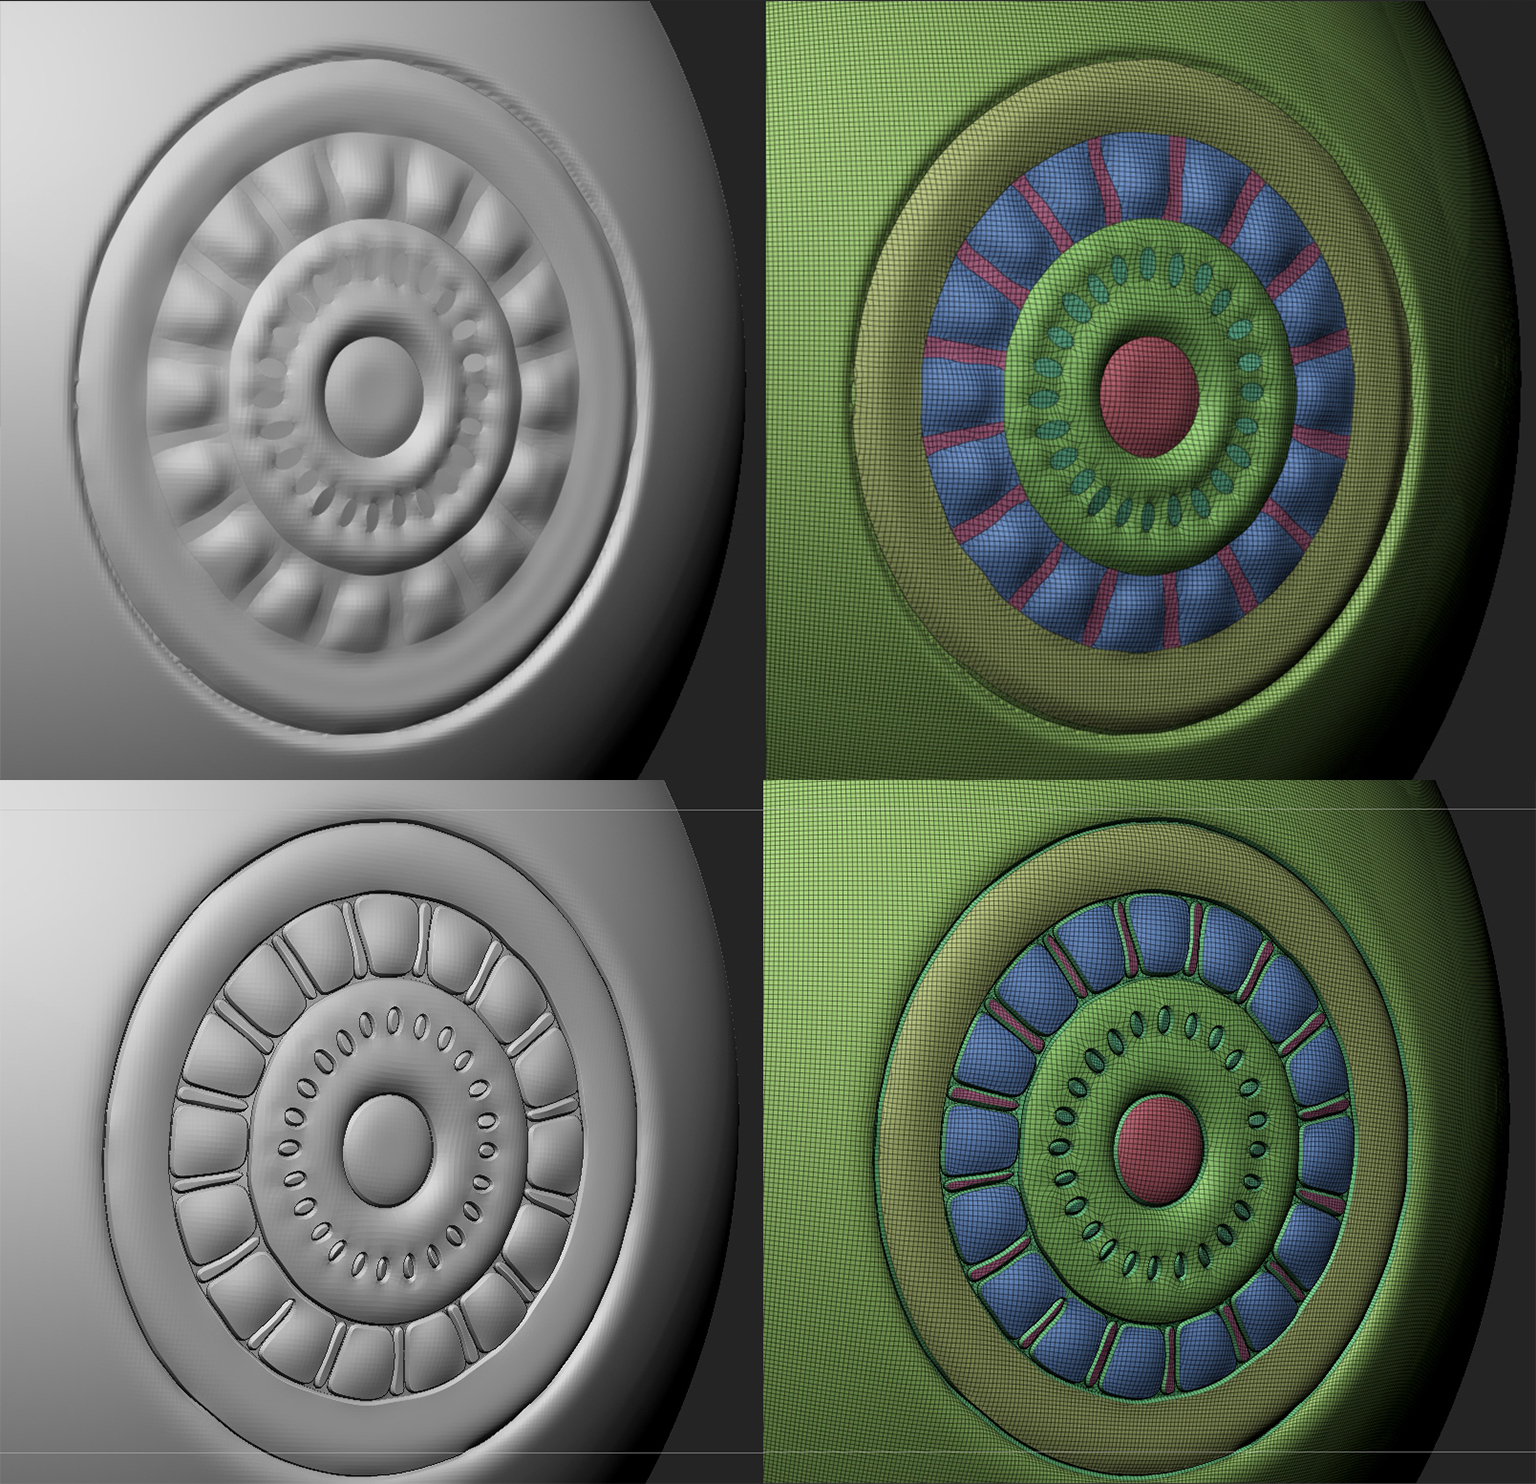
Making the eye
For the eye i used a sphere provided by zbrush in the lightbox, rotated them a little bit to the side and used the same alphas to make the lines and cuts.after that i masked and polygrouped the parts i needed.

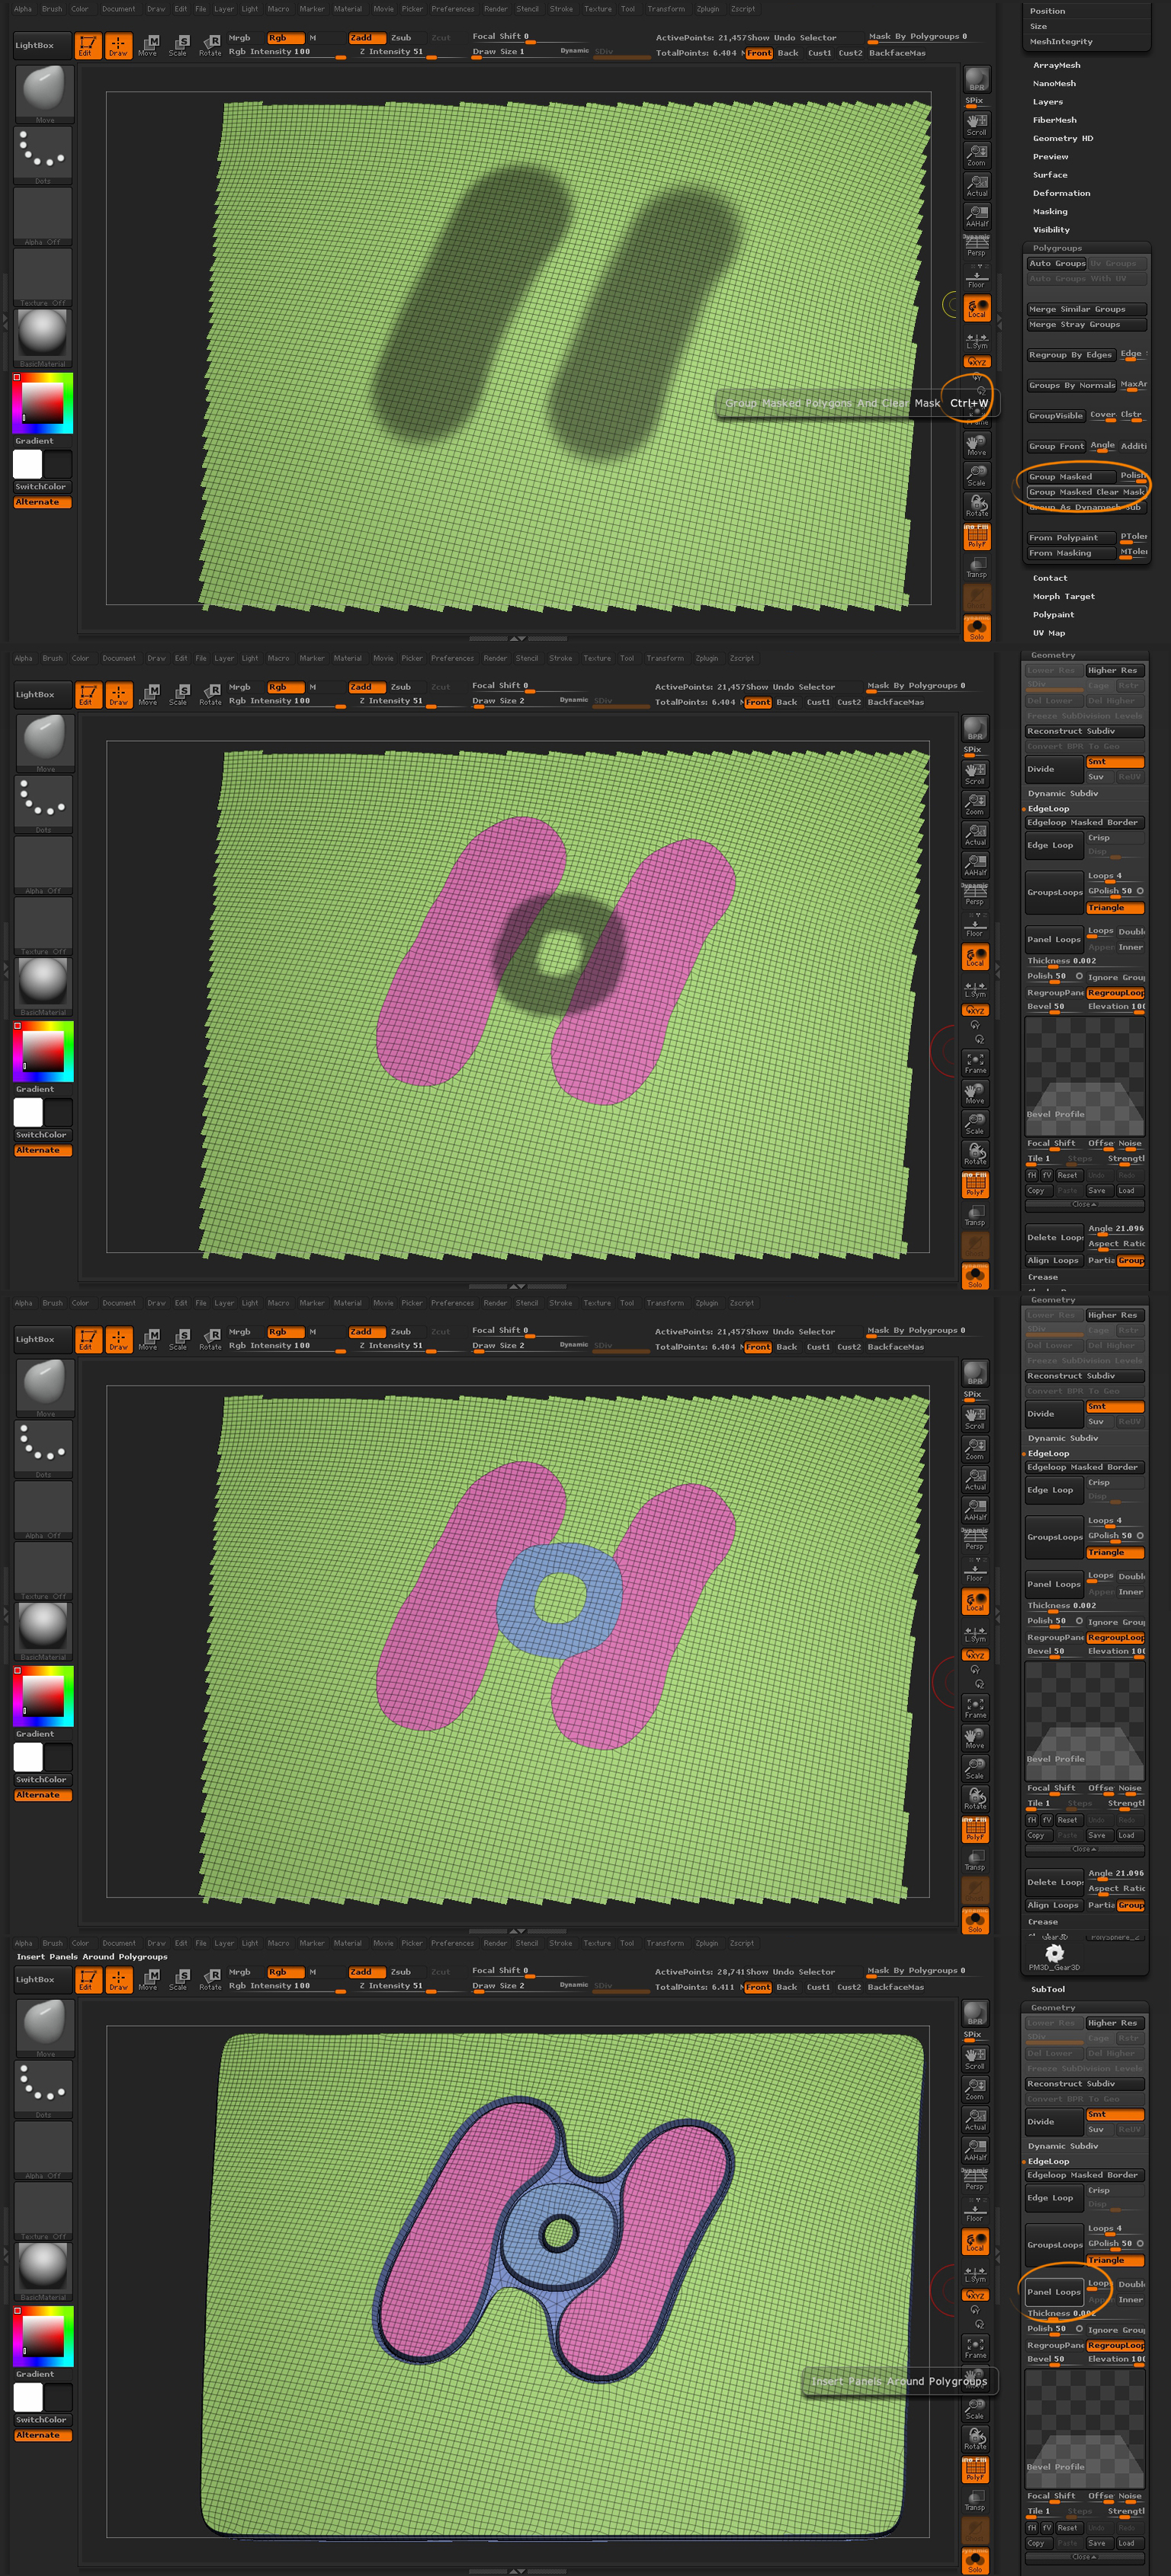
Finalizing the character
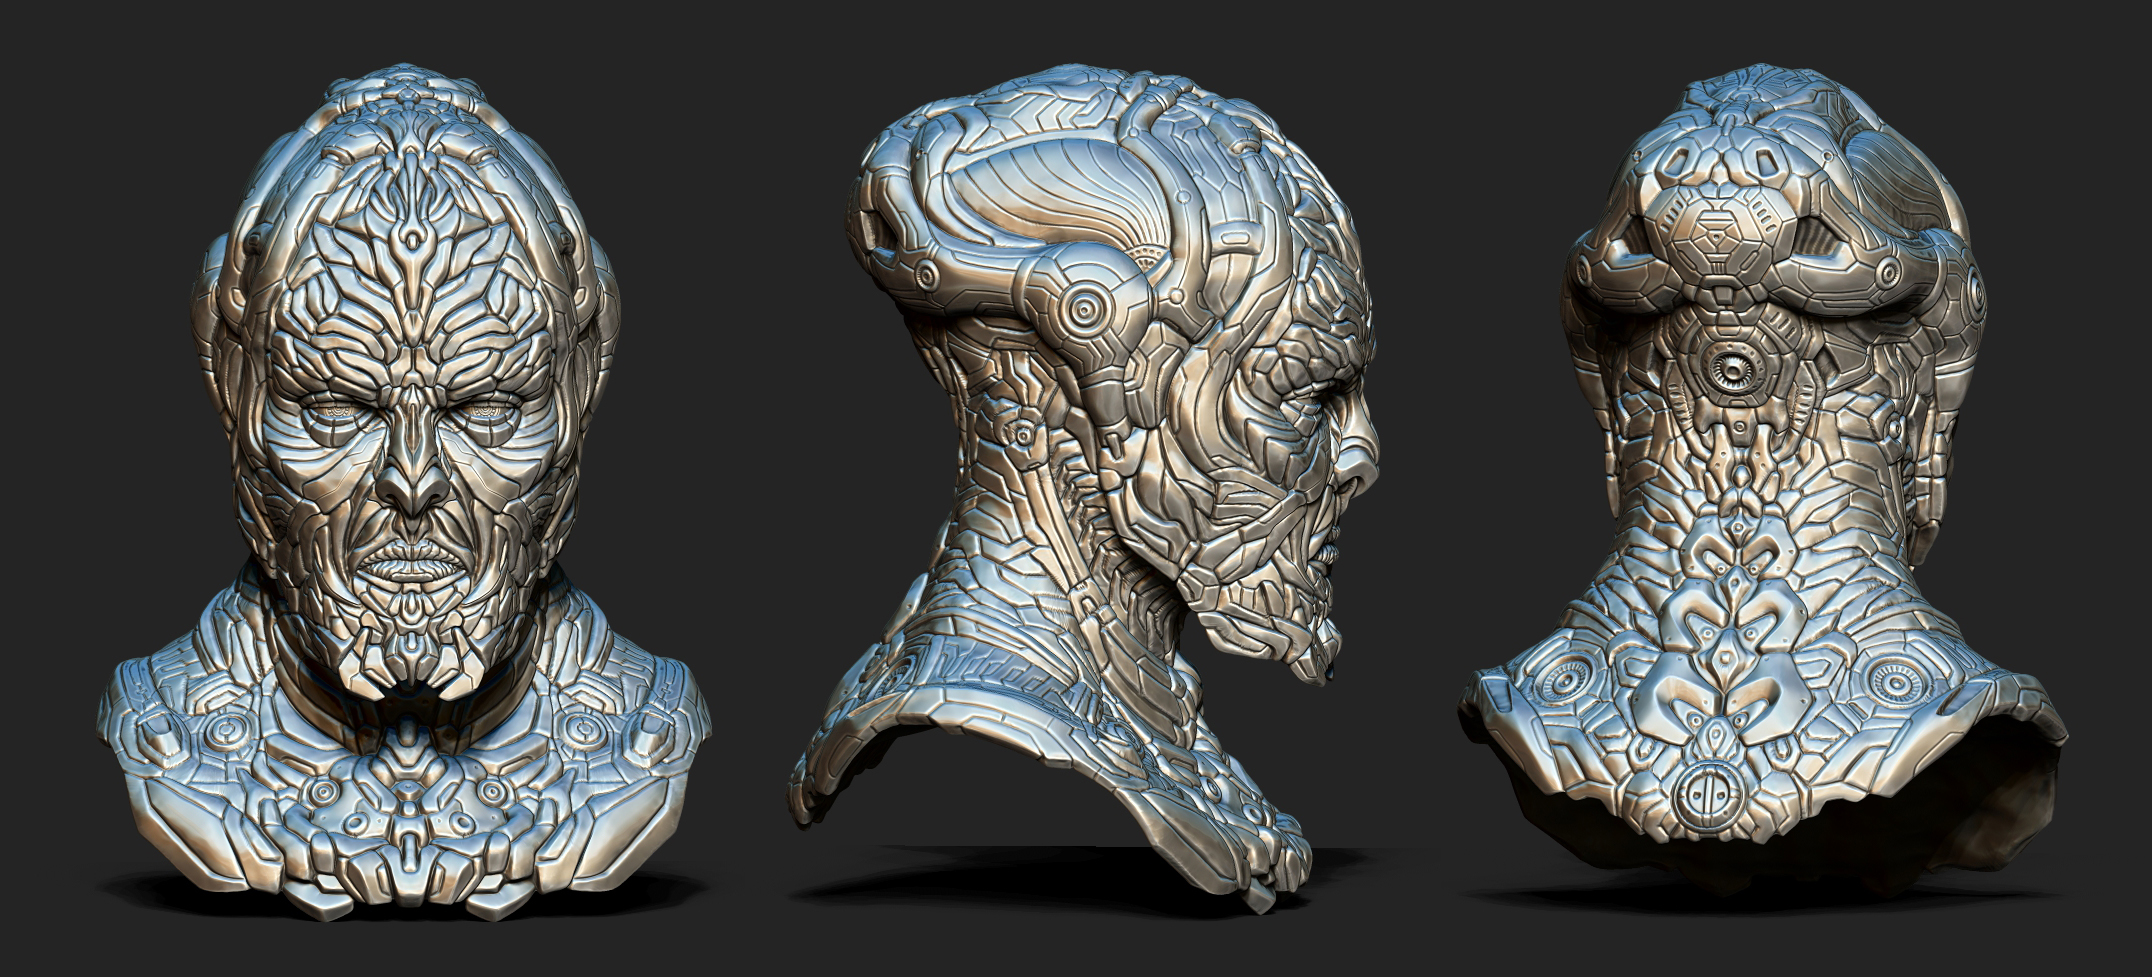
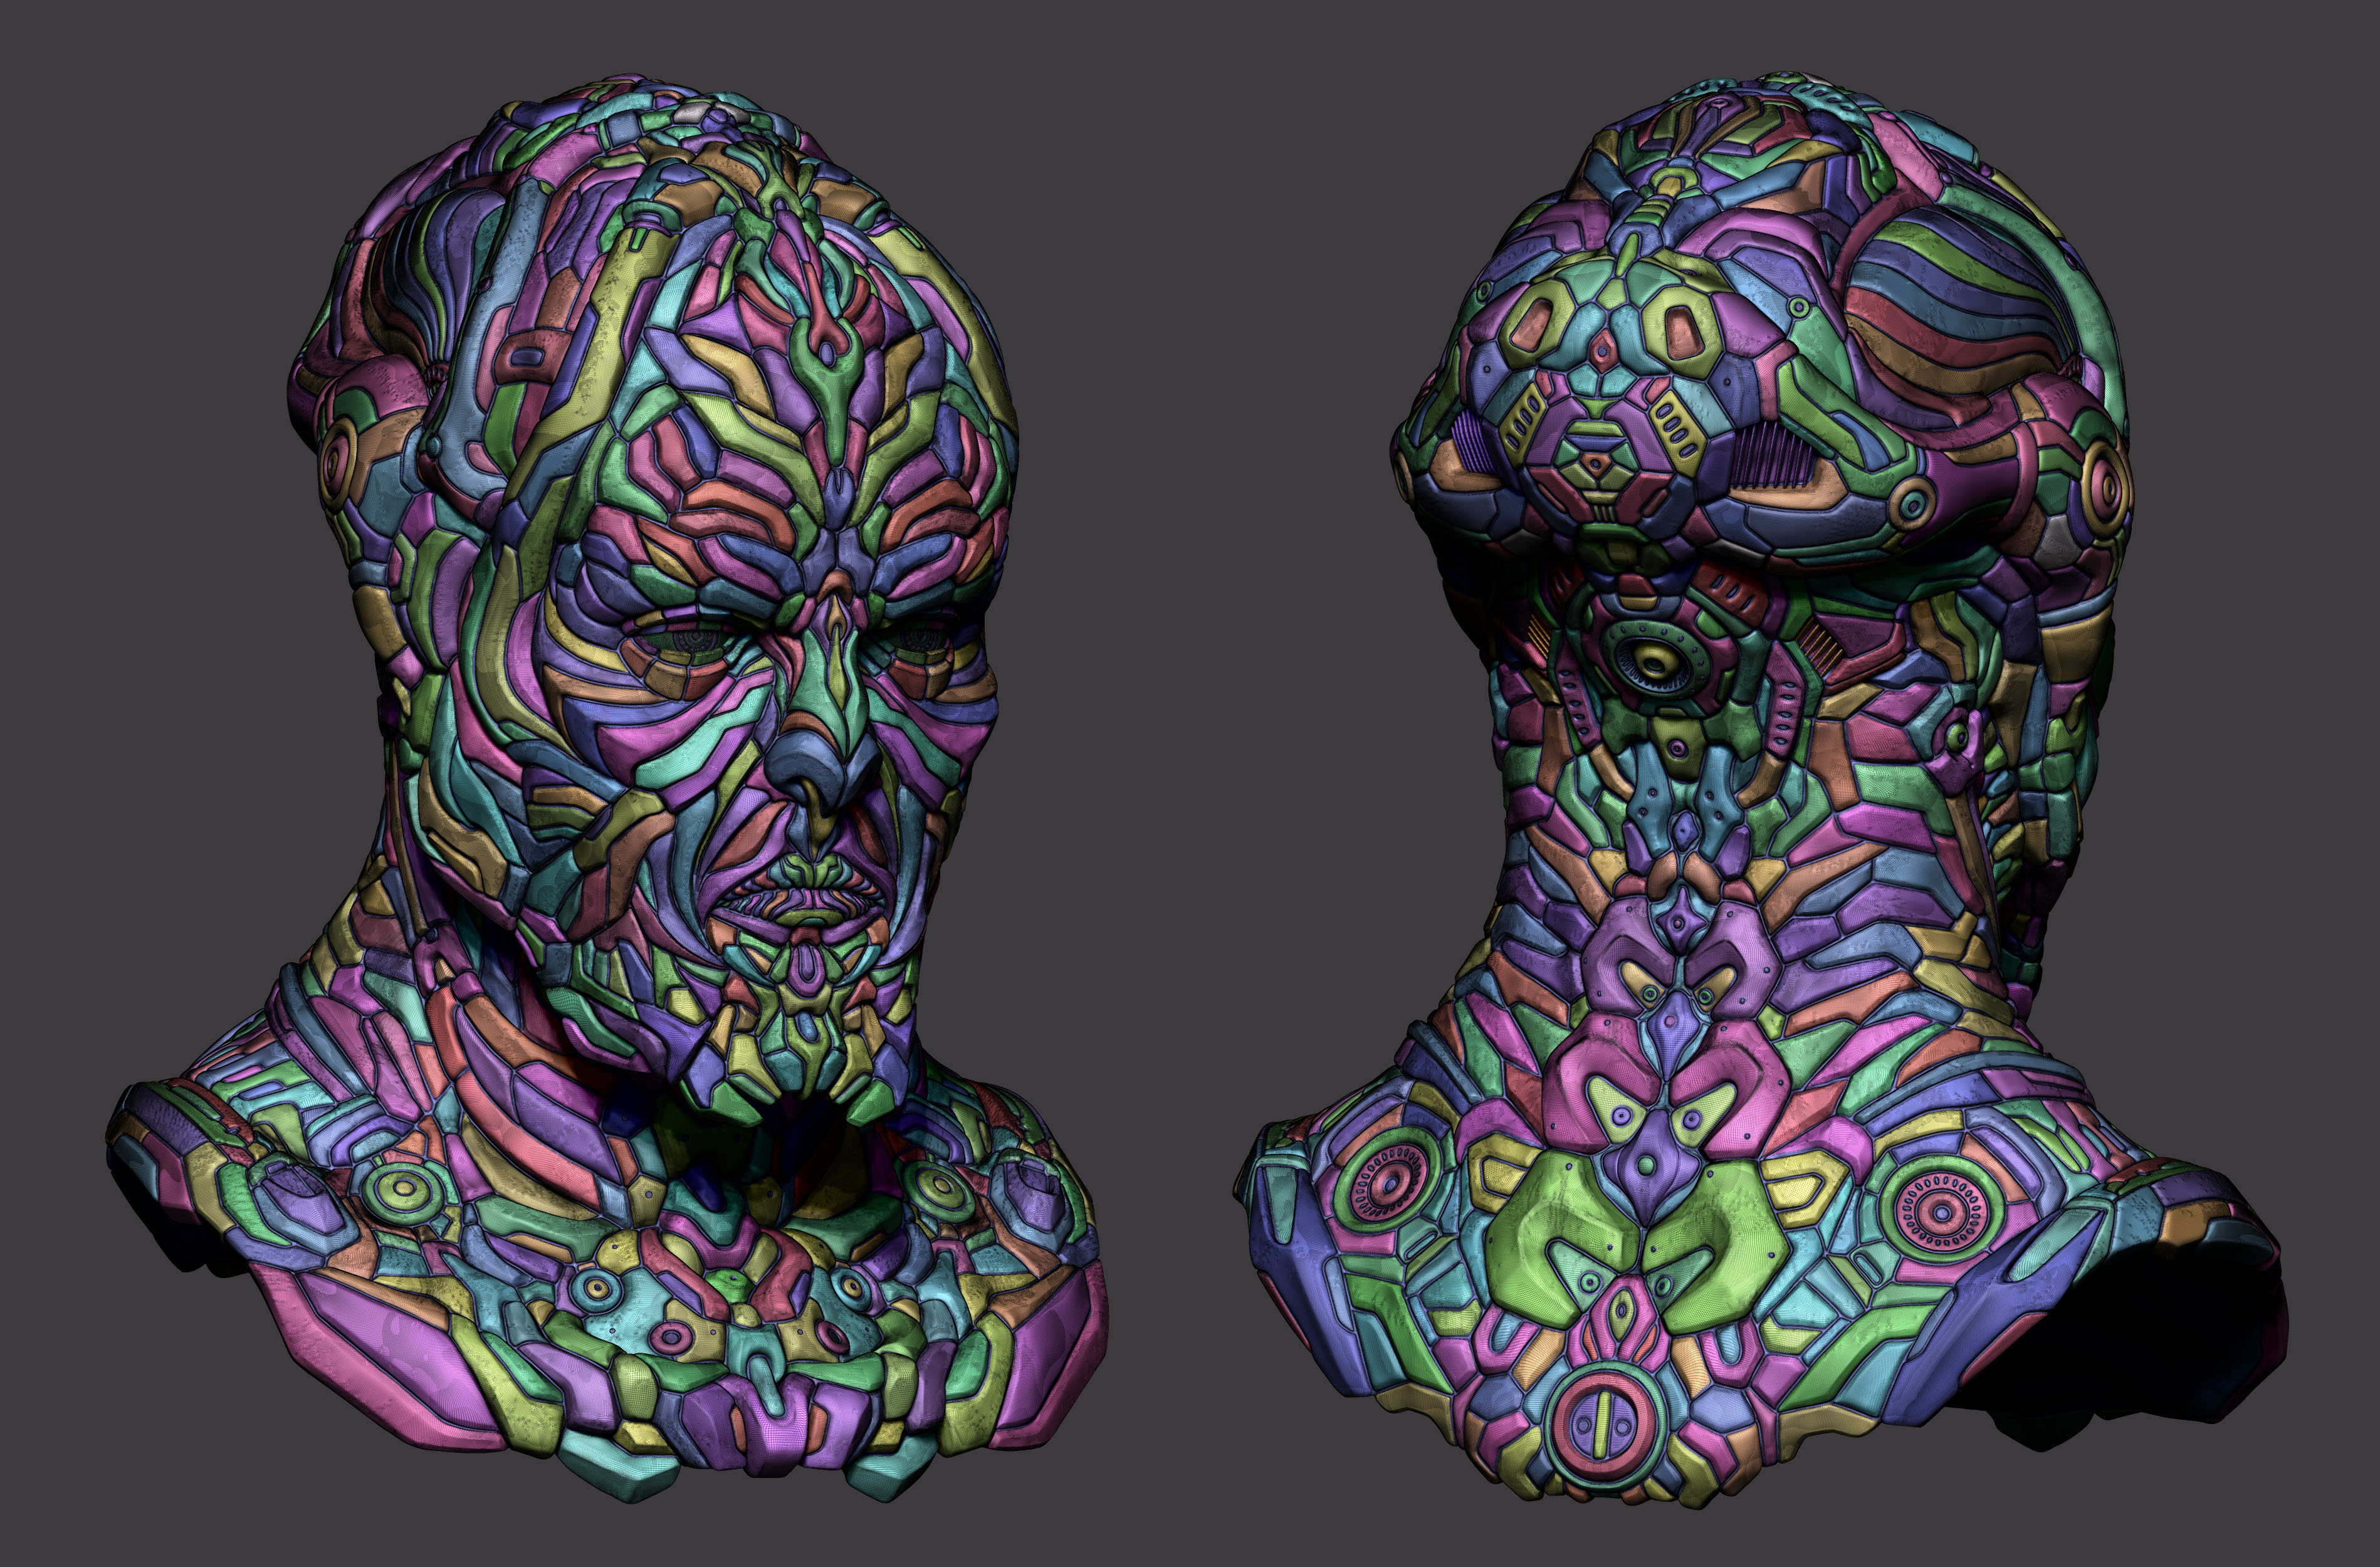
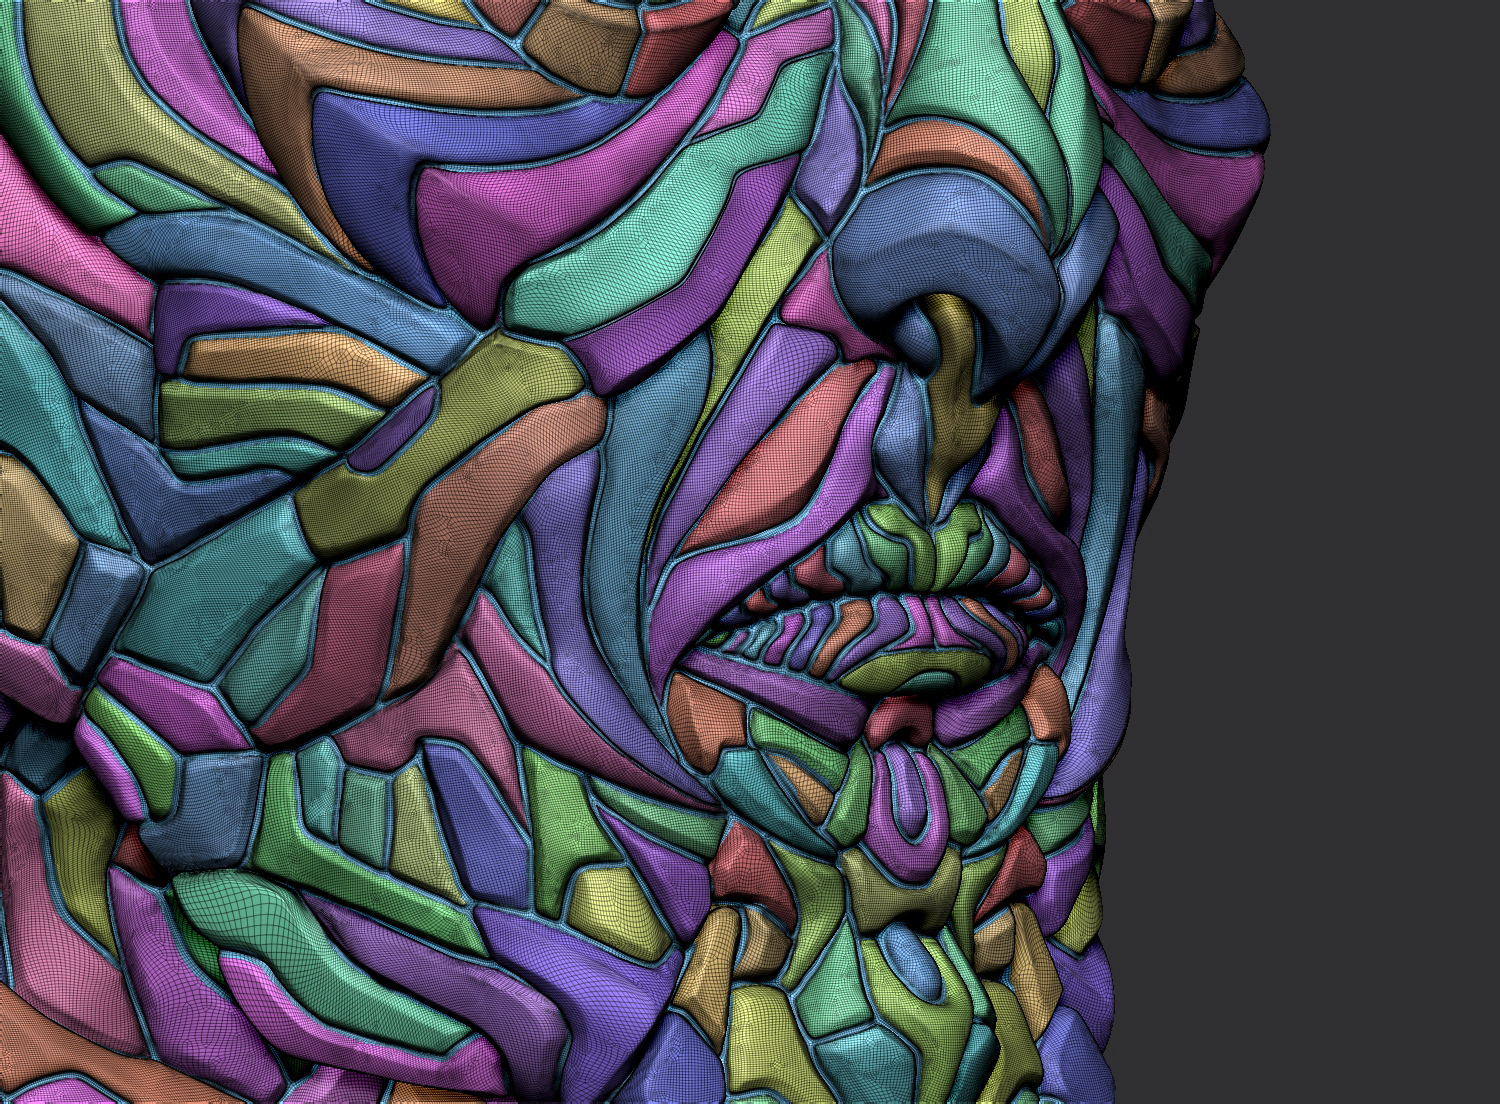
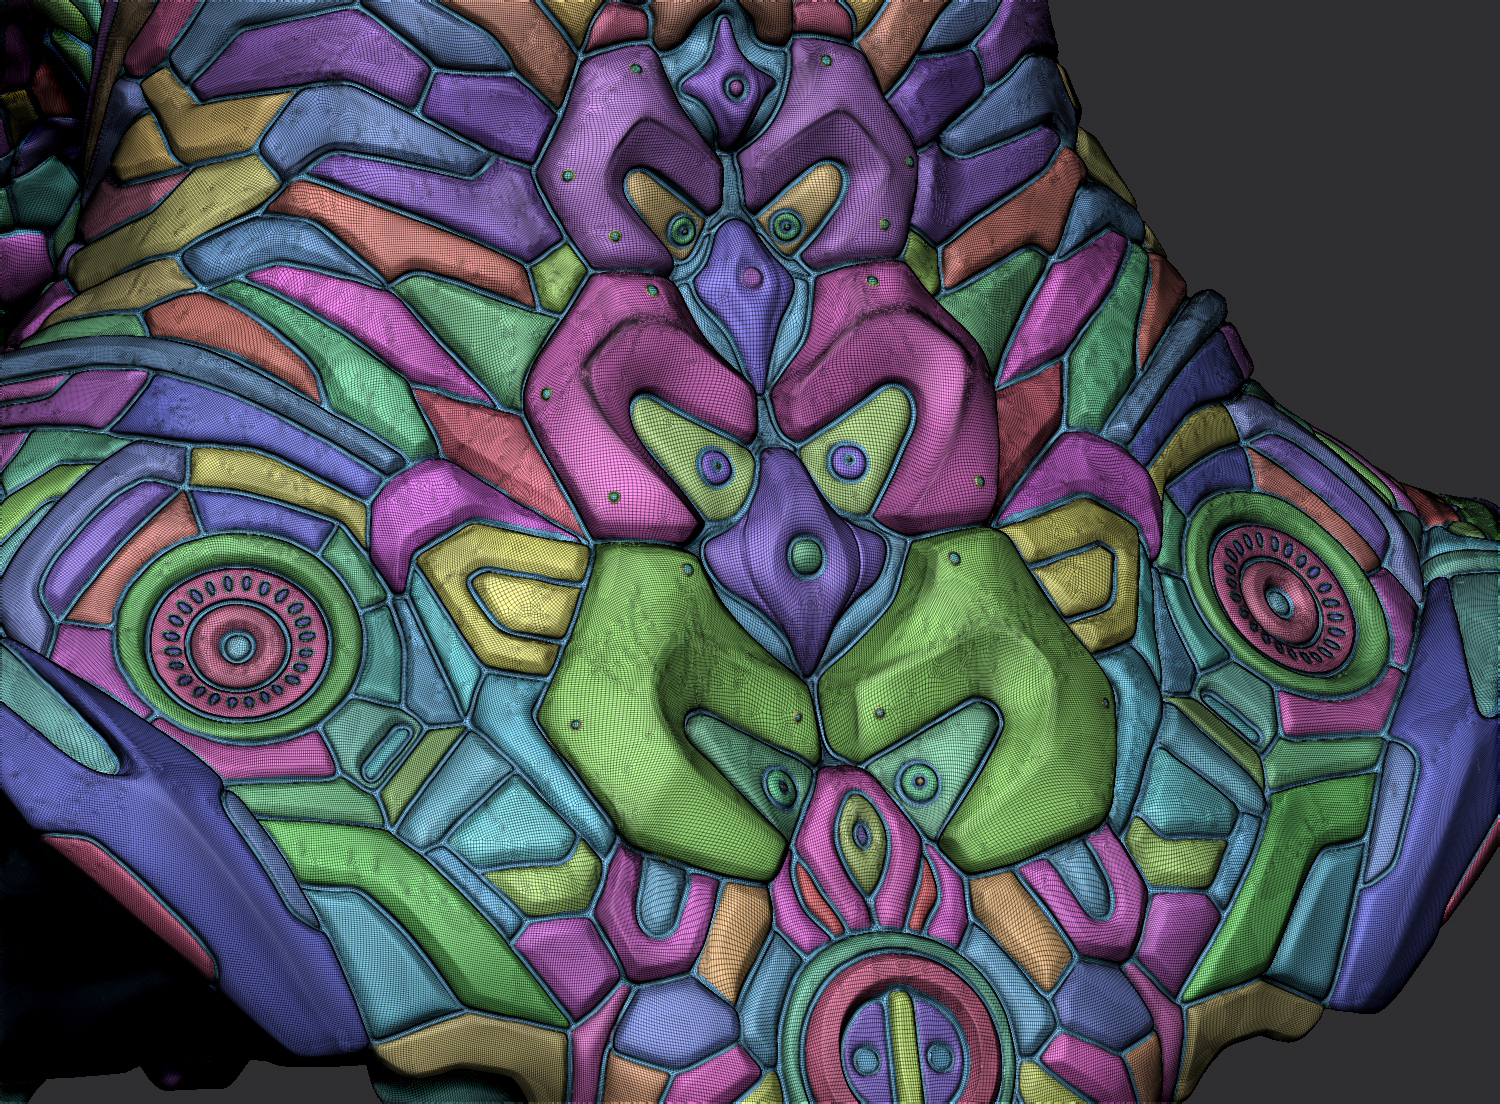
In order to have a nice and sharp edges i polygrouped every piece of the bust and used the panel loops function with more affect on specific parts. after that i polished the surfaces and used trimdynamic brush for hardening the pieces. then splited the parts i needed them as light, decimated the object before sending to keyshot.

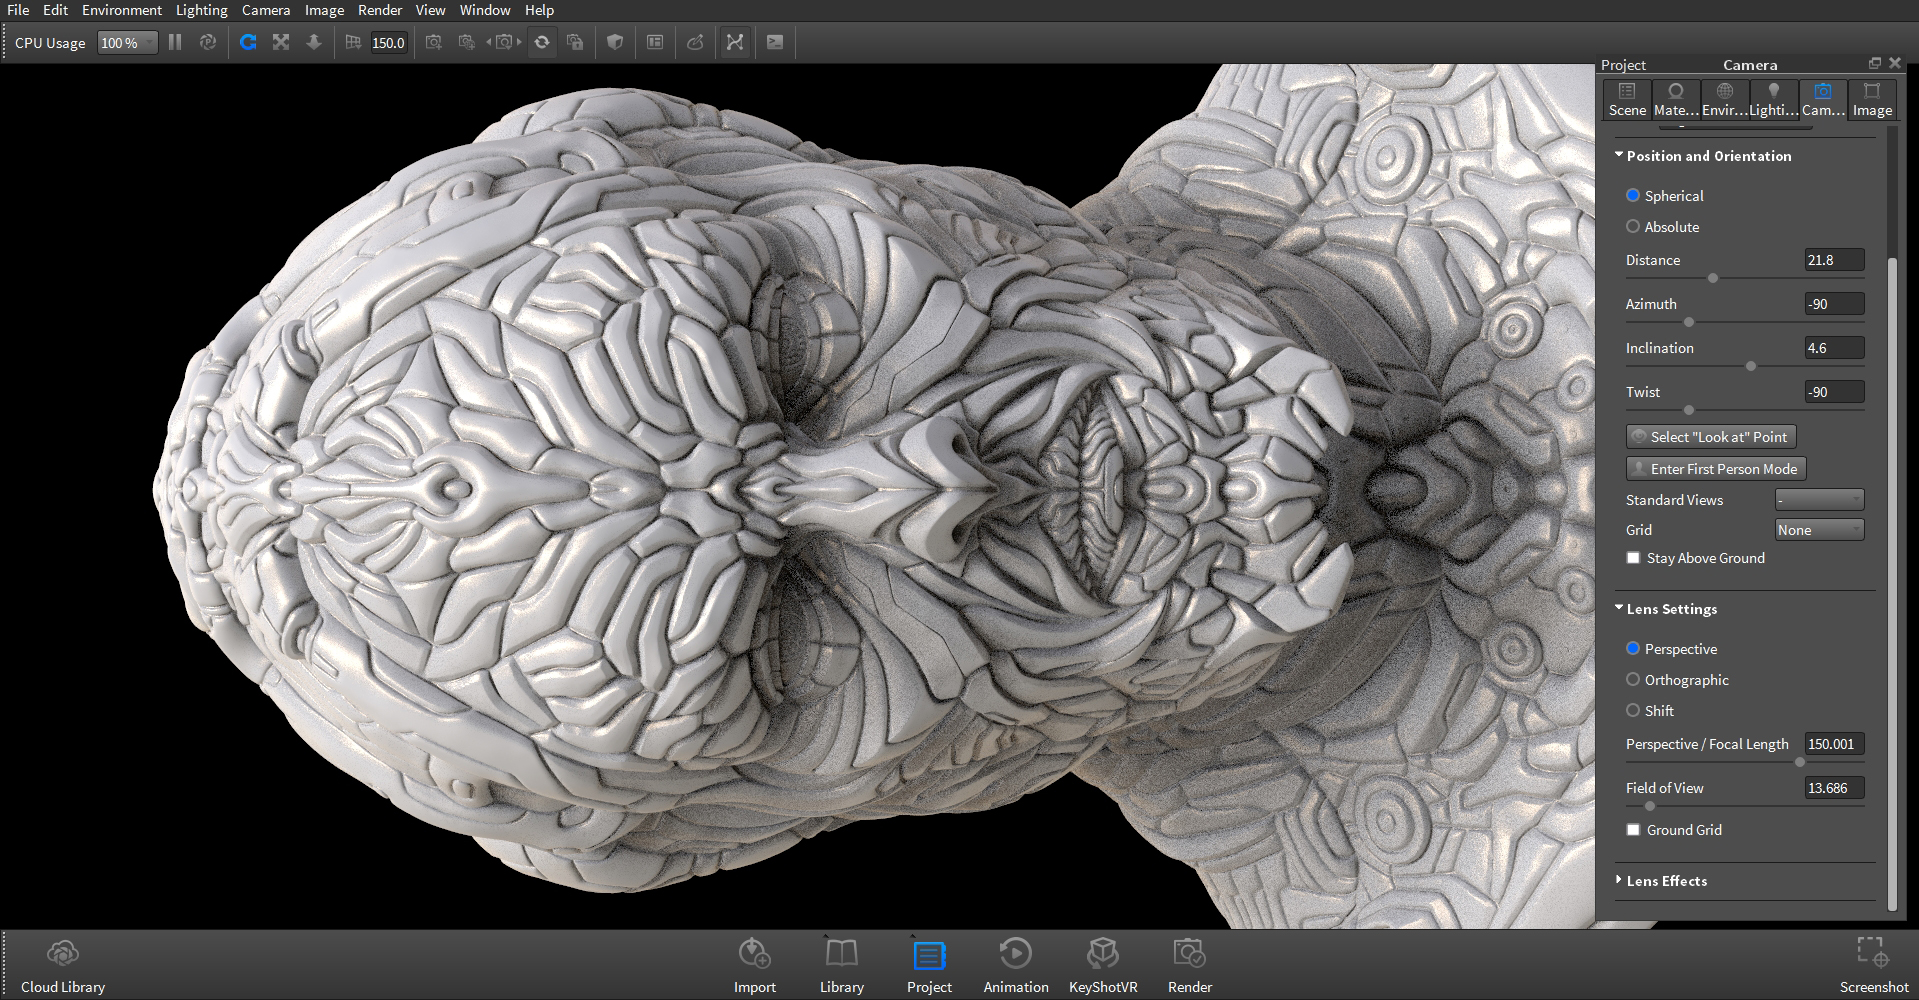
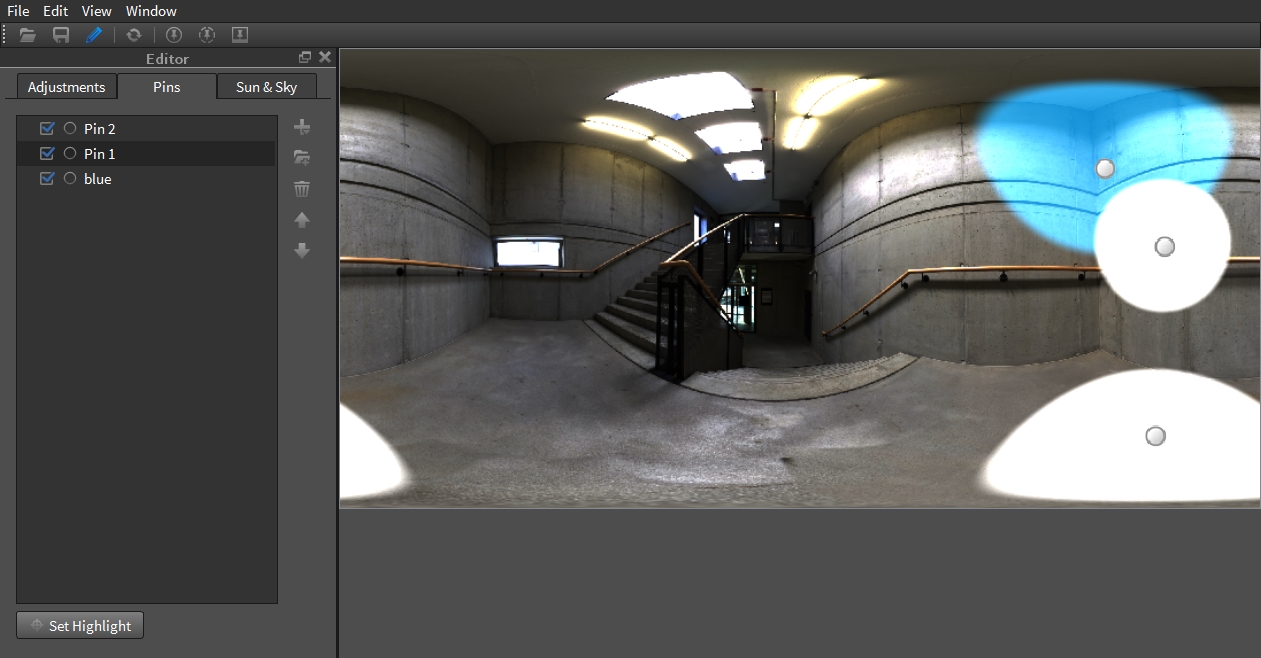
Rendering and compositing
The new Keyshot bridge will send your model straight head to keyshot just by pressing a button. there i painted the bust with different materials in different HDRI lightings.and brought those renders to photoshop for compositing. for the background and the effects i found some sparkles and lensflare via the internet. However a red and firey atmosphere or a dark area where the head appears within would be exciting but i reached this one.


Final Images

Thanks for reading and hope it would be useful. comments are welcomed.
Instagram: www.instagram.com/naghi_hamidi
Artstation: www.artstation.com/naghi_hamidi
Cgsociety: www.naghi.cgsociety.org
#zbrush #zbrushtuts #alien #photoshop #makingof #rendering #texturing #fibermesh #modeling #sculpting