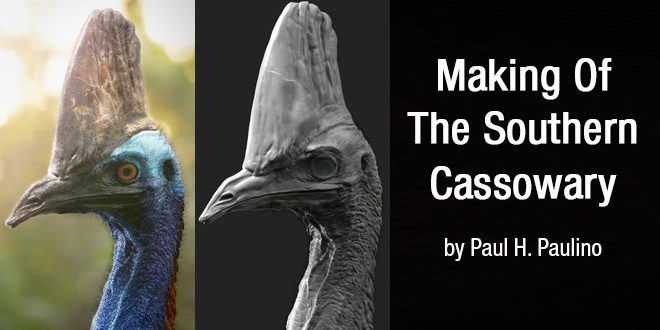
Making Of The Southern Cassowary by Paul H. Paulino

PAUL H. PAULINO is a Texture Painter/Look Development Artist at Scanline VFX from Vancouver, Canada. In this post you will see Making Of The Southern Cassowary by Paul H. Paulino.
The Southern Cassowary was a collaborative project between myself and my friend Daniel Rodrigues. It is the third and last piece of my student reel completed at Think Tank Training Centre.
During my time in school I was mentored by Justin Holt, who is an incredible artist that guided me through the whole texturing process. After deciding to texture the cassowary I asked my talented friend Daniel to sculpt it for me. He was done with the model in a couple of weeks and then I began the texturing/look development process, which I’m going to explain here.
I chose the cassowary because it is such an interesting animal; it has an incredible colour palette, which was an exciting challenge from a texturing point of view. Aside from that I’ve always been amazed by the wonders of nature and being able to recreate something like that was an incredible achievement for me as an artist.
In this tutorial I will go through some of my texturing workflows and techniques for creating a realistic southern cassowary using Maya, Mari and V-Ray. By analysing real-life references and learning how to breakdown patterns and details, you’ll be able to apply these concepts in your own projects.
01. Gathering references

Research is crucial for a photorealistic result
To achieve a photorealistic result it is crucial to find good references. I recommend using Google images and Flickr to find high resolution images; this way you’ll be able to see and breakdown all the details in your textures. After picking a good amount of references I use a software called PureRef to categorise them. I separate the references based on the casque, beak and skin. Since each bird is so unique, it is a challenge to find a middle point between the photos.
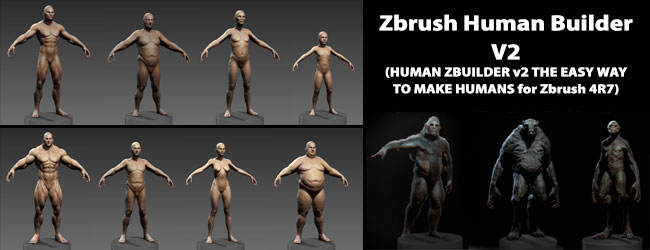
02. Create a good model

A basic model is the foundation of a realistic image


It doesn’t matter if you have amazing texturing skills if your model doesn’t look good, so make sure you have a realistic sculpt to work with. In my case I asked my talented friend Daniel Rodrigues to sculpt the cassowary for me. We worked together for a few weeks until we got the final model. I asked him to sculpt only the primary and secondary details since I was going to work on the high frequency details in Mari.
03. Unwrapping the bird

The 2015 Maya model is useful during the UV process
For this tutorial, the UV mapping process is done in Maya. The 2015 version has new features and the integration with Unfold3D is amazing – it helps me a lot during the UV process. I separate the casque, the beak and the skin in the UVs to make selections easier. In Mari I am able to paint the UV seams, so I don’t have to worry too much about having multiple UDIMs.
04. Baking auxiliary maps

Channel masks are generated in real-time
Before jumping into texturing I bake a few auxiliary maps (AO map, 8-bit Displacement map and Cavity map) in Mudbox. These maps help a lot since they are used as masks to drive and isolate details in specific areas. They can also be used as a channel mask in Mari if you want to project anything in your model. The channel mask will generate a real-time mask based on your auxiliary maps.
05. Create a colour palette

The colour palette helps to achieve a lifelike look
The cassowary is colourful and its blue tones are beautiful. In order to achieve all these variations of blue, ultramarine violet and orange, I create a colour palette. I do the same thing for the casque, which is not as colourful as the skin but still has some interesting colour variations that help bring the bird to life. Again, since the references have so many different colours, I have to find a good balance between the photos in order to achieve realism.
06. Painting the skin tones

The tones are built up in layers
After defining the colour palette I begin painting the skin. I create several layers, each one with a different colour based on my previously created colour palette. Then I create a mask for each layer and start masking each colour separately with a Soft brush. This process enables me to get an interesting colour variation and gradation between the tones. For the black patch on the face I use a different brush to mimic a pattern that I saw in the reference photos.
07. Colour variation

Variation gives the colours depth
Using only basic colours will make your textures look really flat. In order to get some variation I decide to add galvanised textures on top of the layers, lowering the opacity to 20 per cent and changing their Blend mode to Overlay. This is also the time to use the previously created maps. I use the 8-bit Displacement and the Cavity map on top of the layers and change the Blending mode to Soft Light and Overlay to get even more breakups.
08. Add high frequency details

Pores are projected onto the skin
After getting the basic colours and variations it’s time to add some fine details to the Diffuse map. I project human pores on the skin based on my references. Since the bird’s pores have so many sizes, I have to pay attention as to where those details would be placed. After projecting the high frequency detail, I put it on top of the colour layers and change the Blending mode to Overlay.
09. Casque details

Flakes and dry skin are crucial details
After getting all the colour variation I want for the casque, I use some masks that I create in Photoshop to add the flakes/dry skin detail. This step is really important and really helps to add realism to the piece. Looking at the references you can notice that some birds have a crazy amount of flakes and others don’t. Once again I have to find harmony between the references to achieve a realistic result that would fit my piece.
10. Painting the eye

Research comes in handy again
The eye is one of the most important parts of a portrait so I have to pay a lot of attention. I try to find a high resolution photo of a cassowary that I can use for the eye, but I don’t find anything usable. So I begin to search for bird photos in general and I find a great photo of an owl, which has a similar eye pattern. I take the UV masks into Photoshop and colour correct them based on the cassowary eye.
11. Specular/glossiness map

Two different maps are created
After finishing the diffuse I start to convert it into Specular and Glossiness maps. The Specular map will need to be darker where the dirtier areas are and lighter where the cleaner, more reflective areas are. The Glossiness map is doing a similar thing except the tonal values don’t determine specular intensity; they denote specular highlight falloff, or softness. For V-Ray, white areas in the map create a tight specular hit, and black areas a more scattered, diffused specular.
12. Bump map

Keep an eye on the details at this stage
The Bump map shares the same source as the Diffuse map, so it will match all the relevant details. First I desaturate the colour and use Levels Adjustment to change the contrast. In this map I use the same high frequency detail (pores) that I painted on the colour. Be careful the grade doesn’t crunch out detail at the far ends of the range – you don’t want to lose detail in the light or dark areas.
13. Attention to detail

Wear and tear are added
In order to make the cassowary realistic I have to observe all the details. These birds get dirty, they scrape and scratch and pick up all sorts of damage and wear and tear. I like to apply these details on a separate layer using the Ambient Occlusion map that I have created previously, as a mask to drive the dust and dirt into occluded areas. I also have to find different textures that match the patterns that nature creates.
14. Lighting setup

Free lighting is applied
Since I am aiming for realism I analyse the lighting from the reference photos that I gathered previously and I realise that most of the photos were taken within a rainforest, which is the natural habitat of a cassowary. So, I use a free HDR called Topanga Forest that you can download here. Aside from the HDRI, I also add extra lights to create an interesting and dramatic lighting setup, as you can see on the image with this step.
15. Look development

Different properties are applied to individual regions
I use V-Ray 3.0 for the look development process. Using a blend material, I separate the casque from the skin using a mask created in Mari and I also create another layer for the Dirt pass using another mask. Doing this means I am able to dial the shader separately, since the casque has different properties from the skin.
16. Eye look development

The eye is made of four pieces
I don’t have a complicated setup for the eye. I have four different pieces: iris, cornea, lacrimal duct and caruncle. The iris geo has a concave shape and the cornea convex. This means I am able to achieve depth and realism with the eyes without getting into complex shading. Next I use a glass material on the lacrimal duct and cornea geo, and a simple VRayMtl for the cornea and caruncle.
17. Add fur and eyelashes
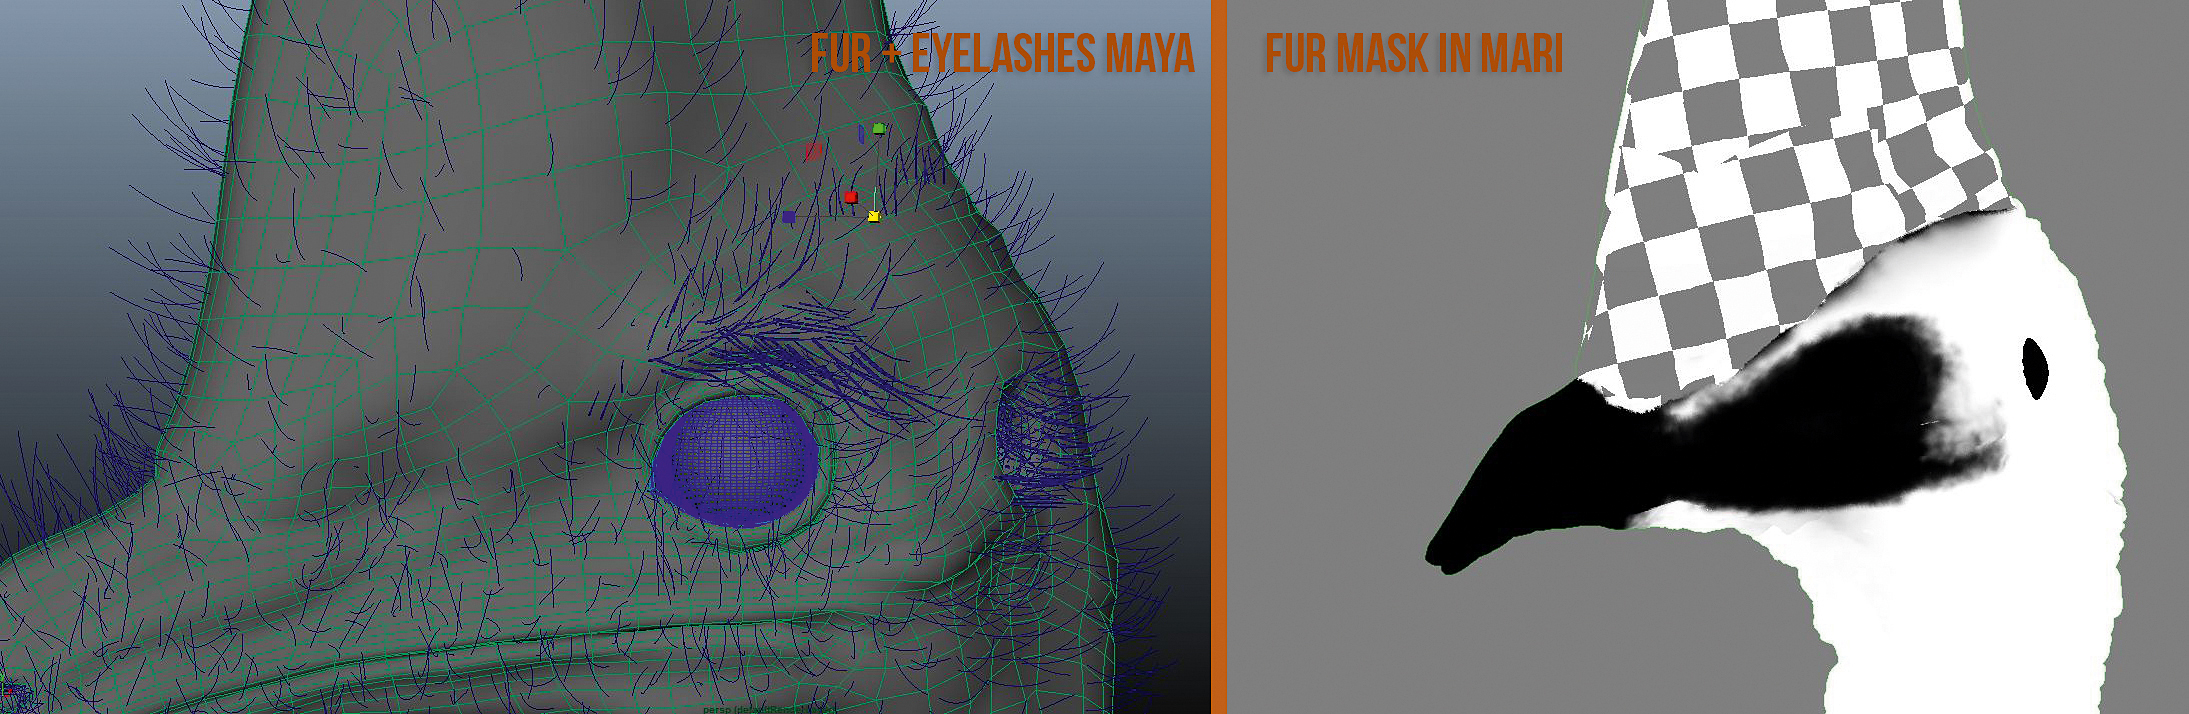
Fur makes a huge difference to the design
To add some realism, I add some fur to the cassowary using V-Ray Fur. The setup is really simple and it makes a huge difference to the final result. I also paint a mask in Mari to decide where the fur would be placed. The eyelashes are polygon cones with different sizes. All are manually placed; it is a simple but tedious task but the variation creates an organic and realistic look to the bird.
18. Final passes/composition
Passes give the image a photographic look
After finishing the look development I take the passes into Photoshop to begin the comp process. I use the Z-Depth pass to give a natural and photographic look to the scene, and I also add a few colour correction layers. The last step is to add post effects to the scene, which are Vignette, Chromatic Aberration, Lens flare and Noise.
Website: http://www.paulhpaulino.com/
Facebook: https://www.facebook.com/paulhpaulino
Artstation: https://www.artstation.com/artist/paulhpaulino/profile
Digital art, 3d art, 3d artist, 3d character art, character art, zbrush, zbrushtuts, 3d modeling, 3d, 3d sculpting, zbrush sculpting, 3d tutorial, zbrush tutorial, tutorial zbrush, free zbrush tutorial