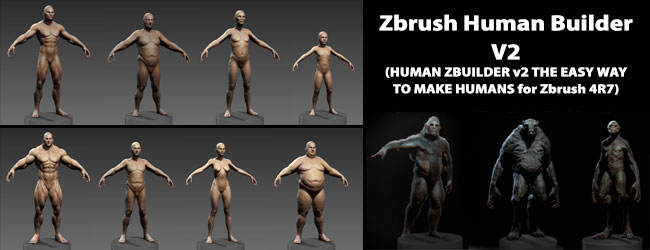
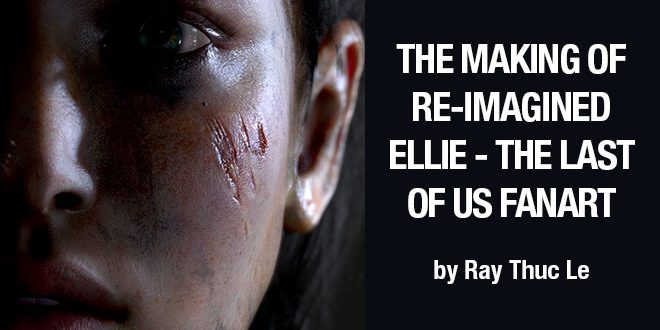
THE MAKING OF RE-IMAGINED ELLIE – THE LAST OF US FANART by Ray Thuc Le
RAY THUC LE is a 3D Character Artist from Vancouver, Canada. Ray Thuc Le shared THE MAKING OF RE-IMAGINED ELLIE – THE LAST OF US FANART with zbrushtuts.com. Hope you liked it and will be inspiring and informative as well.
Many people were asking me about the process of making my Ellie fanart so I decided to do a breakdown for this character. This is just an overview, not an in-depth tutorial. I can’t go into details for everything unfortunately due to time constraints. I’m sorry if you couldn’t find the information you are looking for.
I really like the character Ellie in the video game “The Last of Us” by Naughty Dog, and I have always been curious how she would look like in the next sequel. She is 14 years old in the game and I wanted to do something different, so I decided to make an older version of her. I believe that Naughty Dog has been working on the next sequel and it will take them years to do, so she should be around 18-20 years old when the game comes out.
In this making of I will explain about:
- Gathering References
- Face Analysis
- Sculpting Process in Zbrush
- Making clothing in Marvelous Designer
- Retopology Workflow for Clothing
- Texturing in Substance Painter
- Lighting & Real-time Rendering in Marmoset Toolbag 2
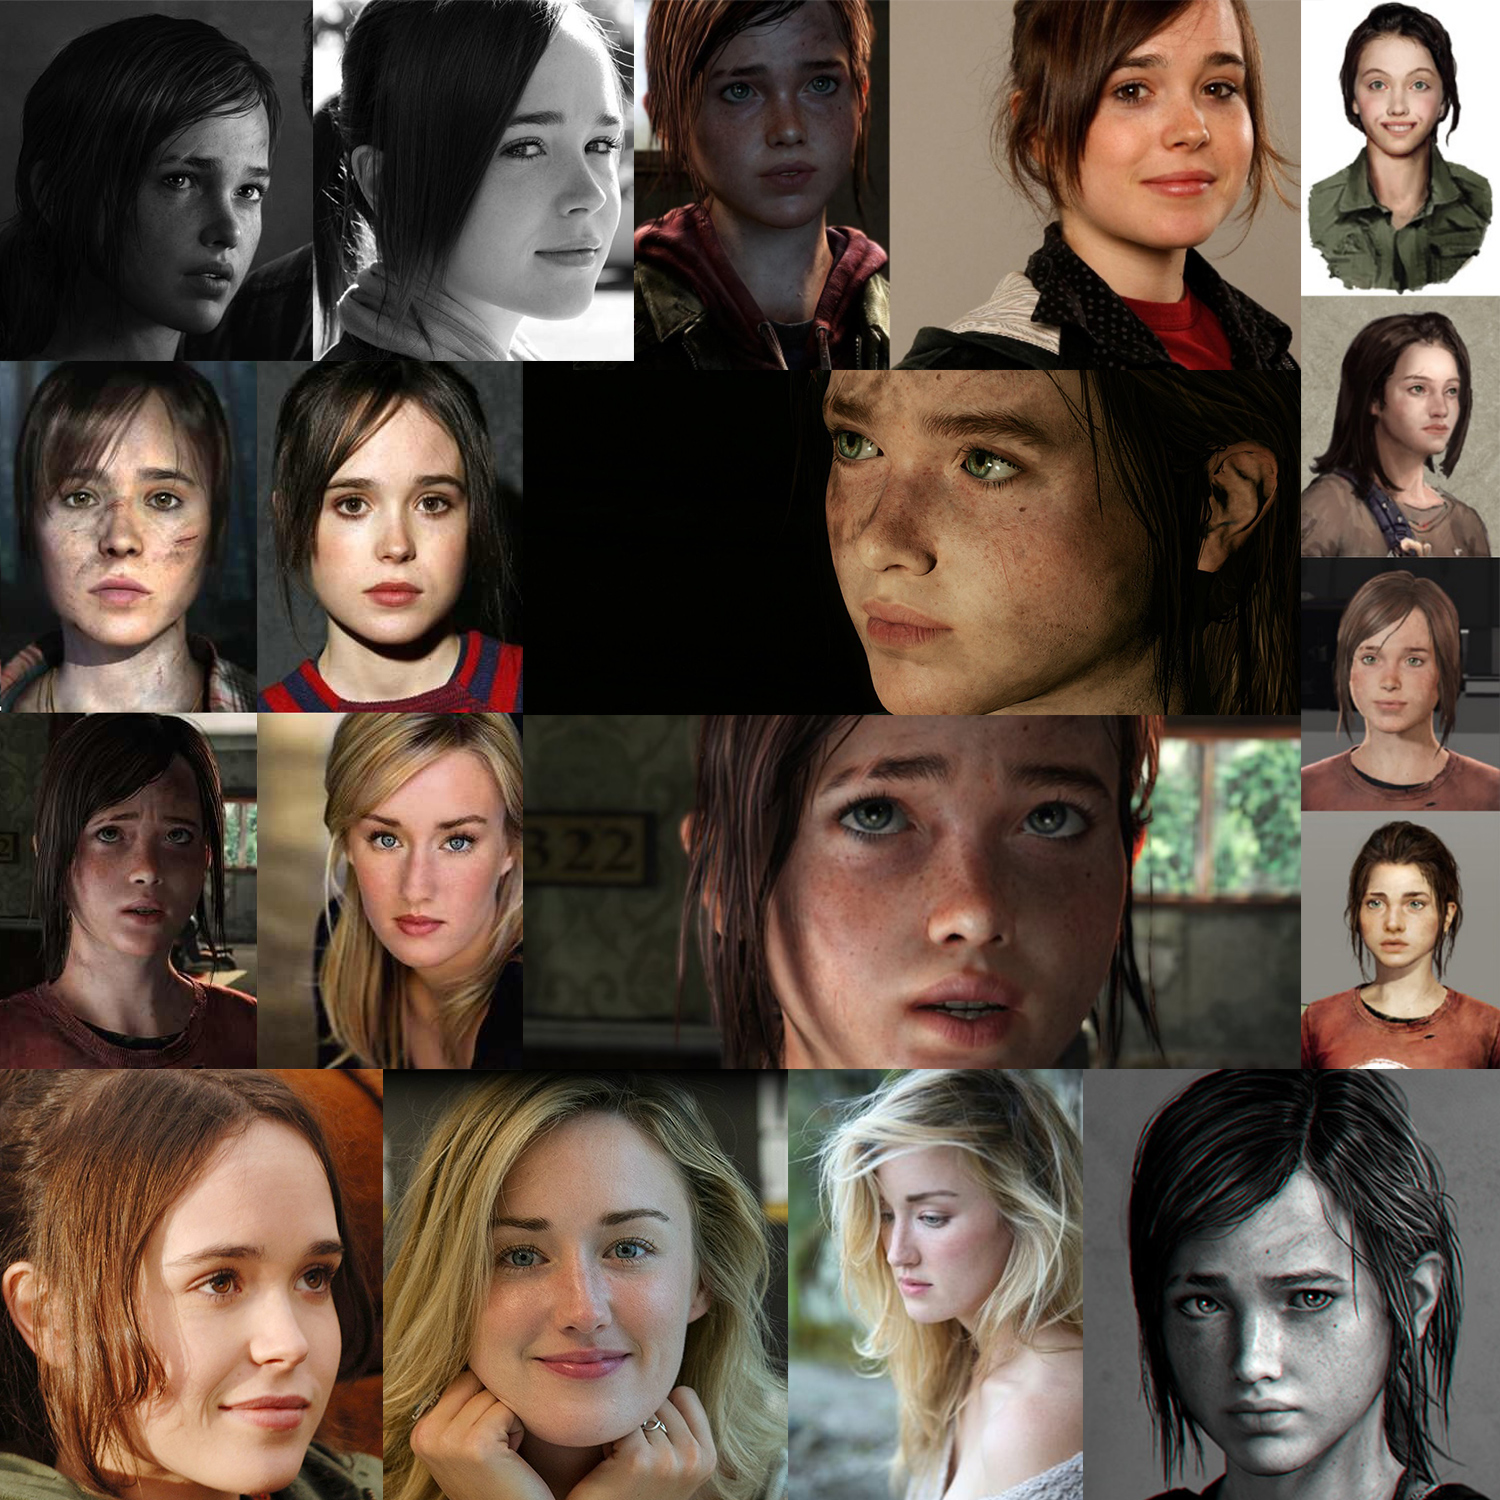
REFERENCES
For this Ellie fanart project, her face is the key, and also the most challenging part in the whole process. Because I had to make her look older, and also nailing the likeness. I began to gather references as much as possible. As you might know Ashley Johnson was chosen to portray Ellie in the game, but some people think Ellie also looks a lot like Ellen Page, and I kind of agree with them. So I was thinking about mixing them together.
Reference Images
FACE ANALYSIS
After getting all the references, it was time to analyze the face and write down all of her traits that I could find.

Face Analysis
Since I’m doing an older version of her. It’s really important to understand aging, the process of becoming older. How do we change physically as we grow? To find an answer for this question, I went to Youtube with a hope that someone might have already done this kind of videos and I found this gem. A time lapse video of a girl who takes a photo everyday in 6.5 years from her age of 14 to 21. It was really helpful, thanks Rebecca Brown!
SCULPTING THE HEAD
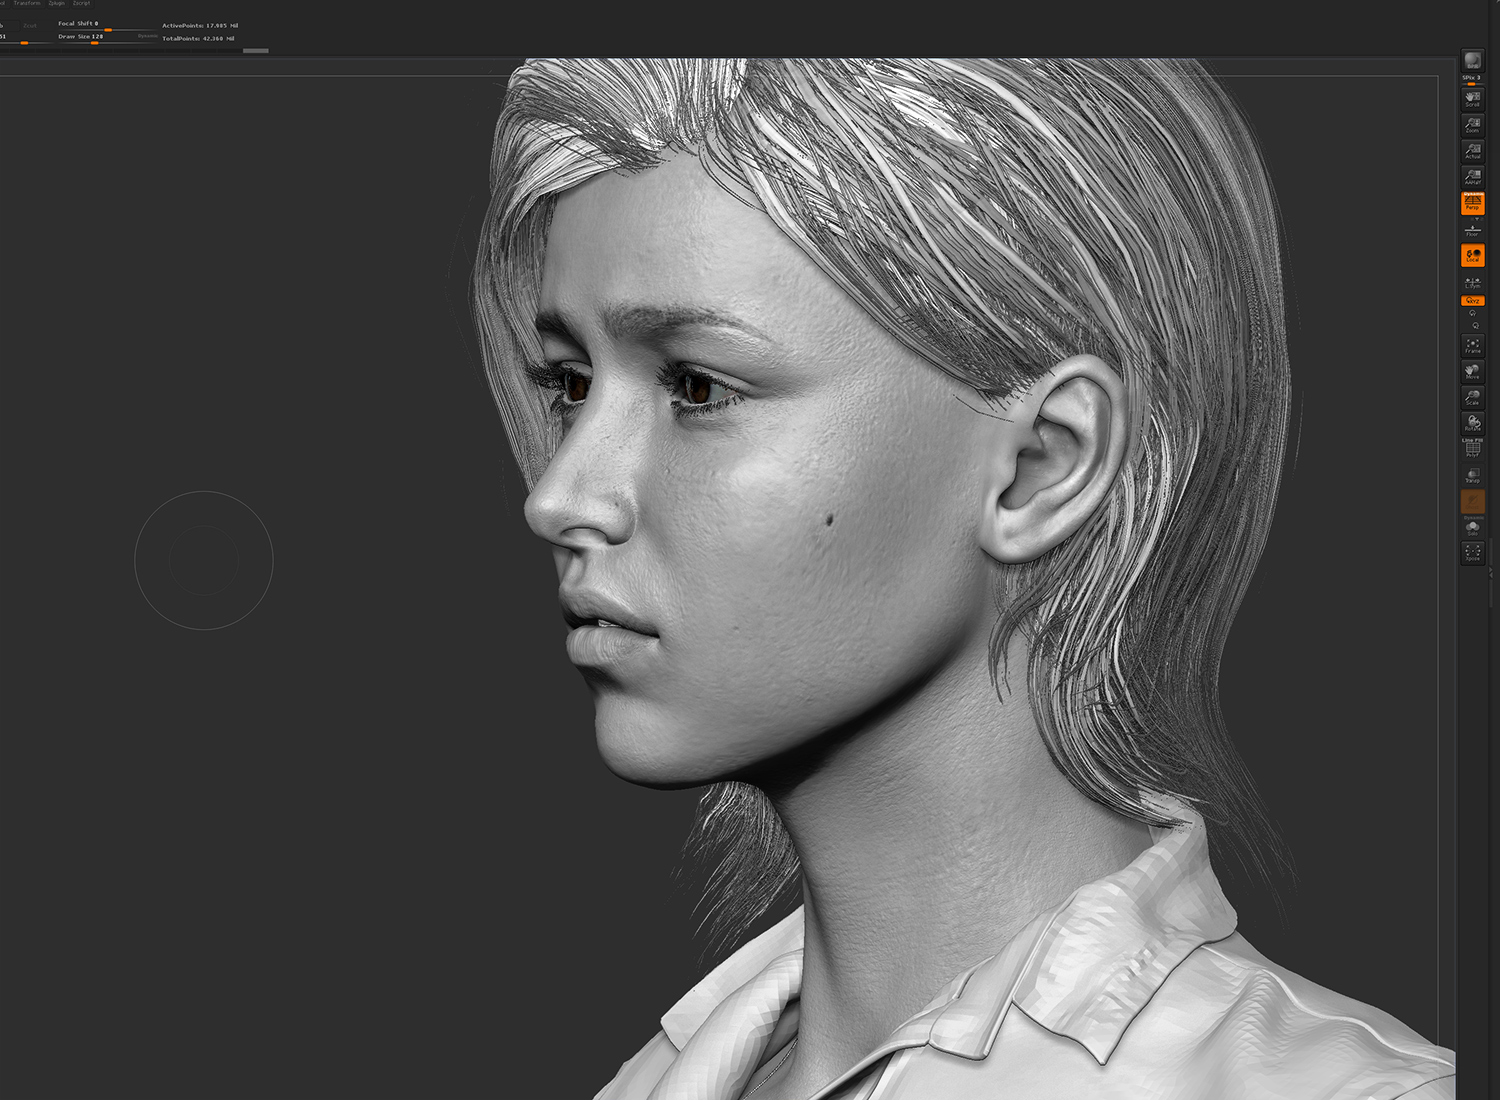
Now it was time to open Zbrush and do the real work! I started with a very generic head base mesh. I used Move brush and Clay Buildup with a very low intensity to define the primary shapes first, then I refine muscle shapes, facial anatomy and adding fine detail later. The hair was made by Fibermesh then converted into geometry, and using Move brush to style the hair. Eyelashes are small cylinders, all placed by hand manually. It is very straight forward, all about patience, so I will not go over it. If you would like to know more about the workflow that I am using to create hair for games. Check out my other tutorial Creating Real-Time Hair for Games.
Base mesh (left) and Secondary forms (right)
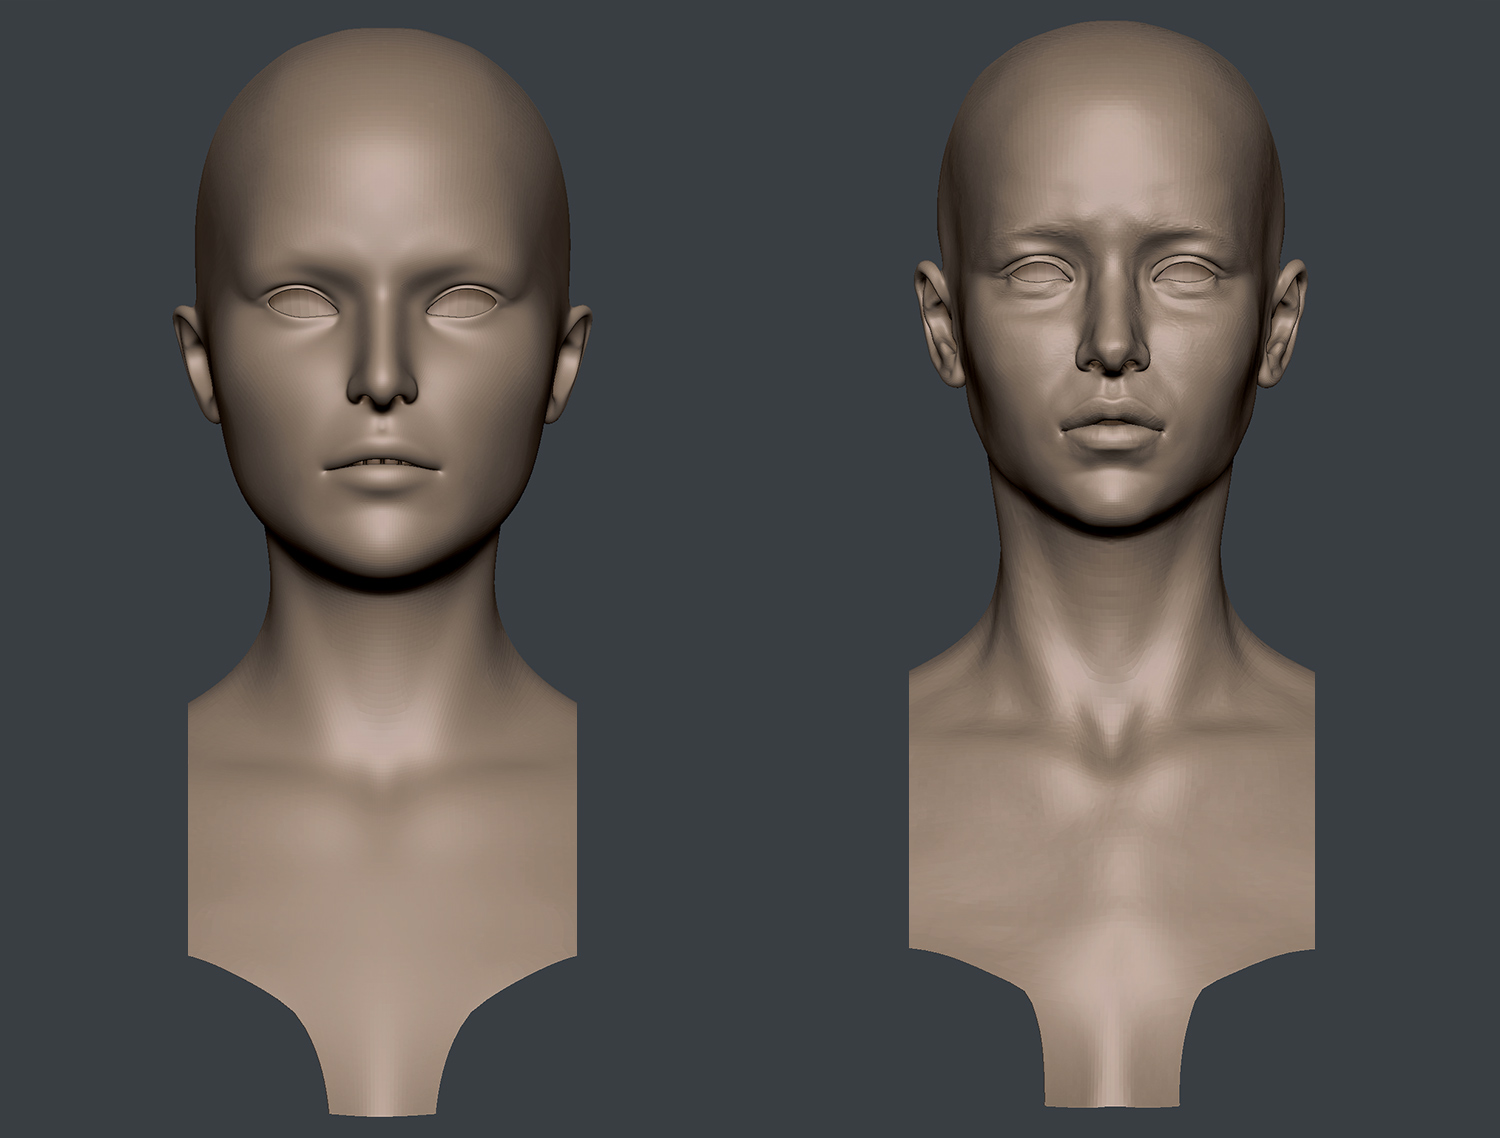
Final Sculpt
MAKING THE CLOTHING
I used Marvelous Designer to make all the clothing parts. I will show you the Marvelous Designer to Zbrush workflow that I used in this project.
First, I imported the full body model into Marvelous Designer. MD is using real world scale, so make sure your model has the right size.

Create the clothing patterns with tools like Create Polygon, Edit Curvature, and Edit Curvature Points. Then start sewing the patterns together with the Sewing tools.

Press the Simulate button, and tweaking the clothing until I got the form I wanted. Don’t spend too much time in MD because it is easier and faster to adjust the mesh in Zbrush.

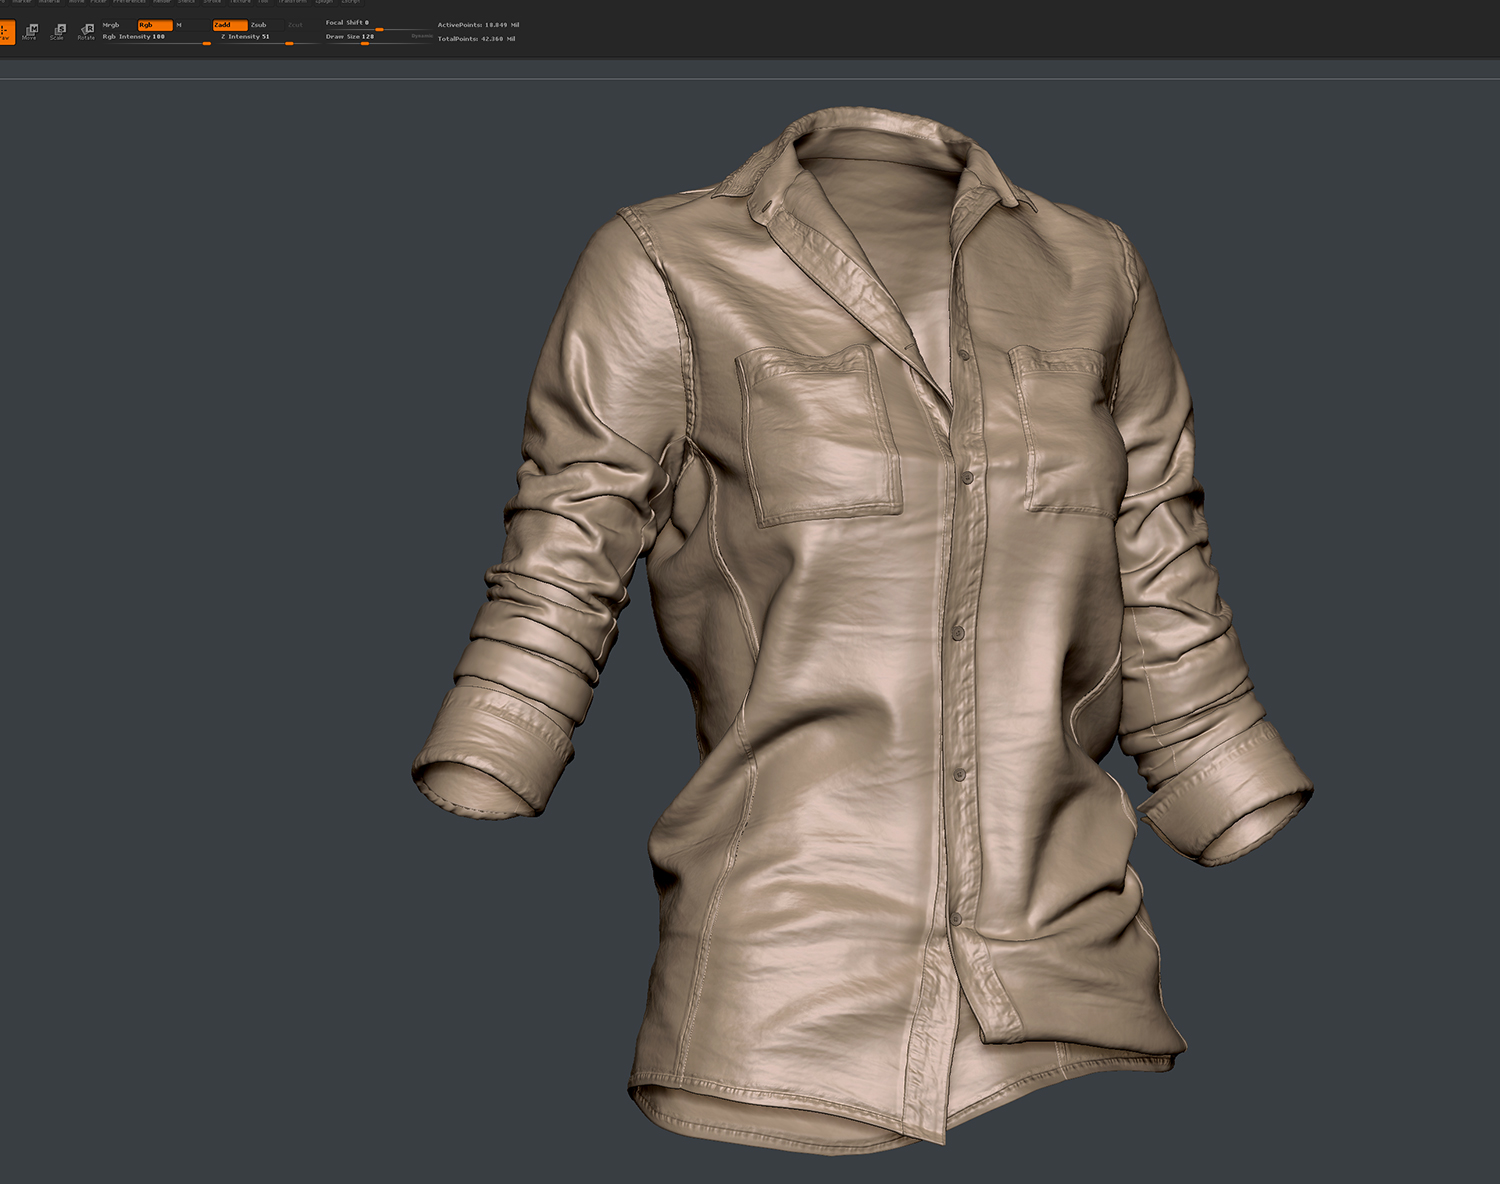
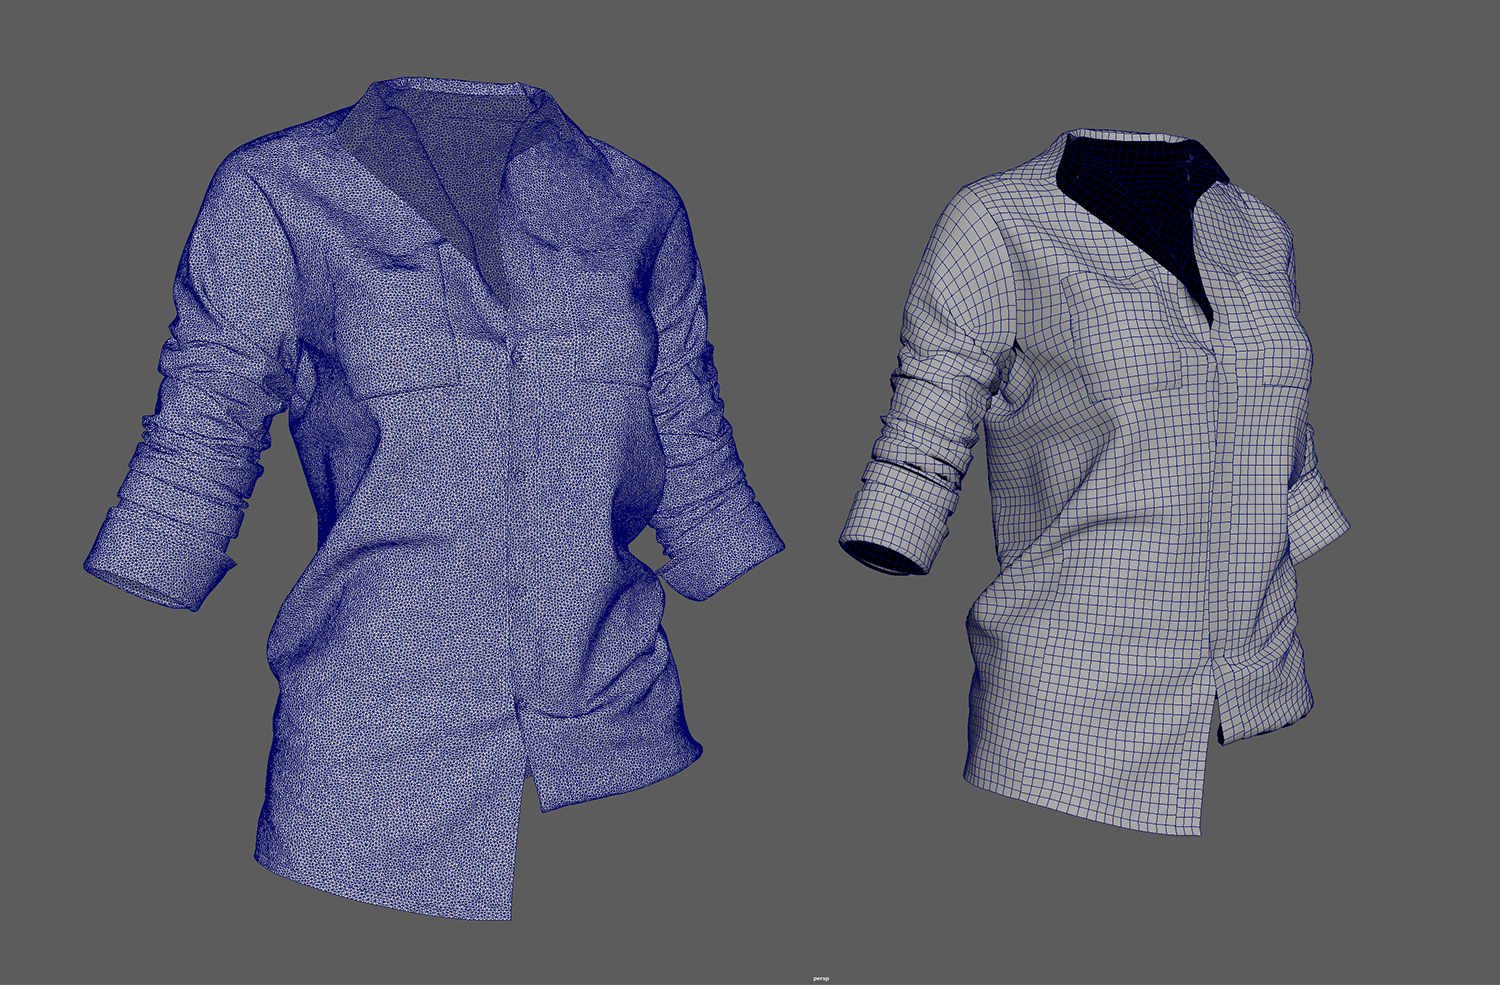
Once I was happy with the form, I export the shirt to Zbrush (thin and unweld), add thickness, and it will be ready to sculpt. This is the final look of the sculpted shirt.
CLOTHING RETOPOLOGY WORKFLOW
I will go through the technique that I used to retopologize the clothing. It is quite hard to explain this workflow in words. It might be confusing but I will try my best. This workflow gives me a super clean topology mesh with UVs, and also saves me a lot of time.
First, I export two meshes from Marvelous Designer.
- One is the simulated mesh, make sure to check these boxes in the Export settings: Single object, Thin, and Unweld. Name it something like MD_3D_Shirt.obj
- The second mesh is the flat mesh. In MD, select your mesh and click “Reset 2D Arrangement” to flatten it. Same export settings. Name it MD_2D_Shirt.obj

Next, I import the flat mesh (MD_2D_Shirt.obj) from MD to Zbrush. This mesh is triangulated, and has UVs. I need a clean topology to sculpt so I used Zremesher to quadrangulate it. Export the quad mesh as ZB_2D_Shirt.obj

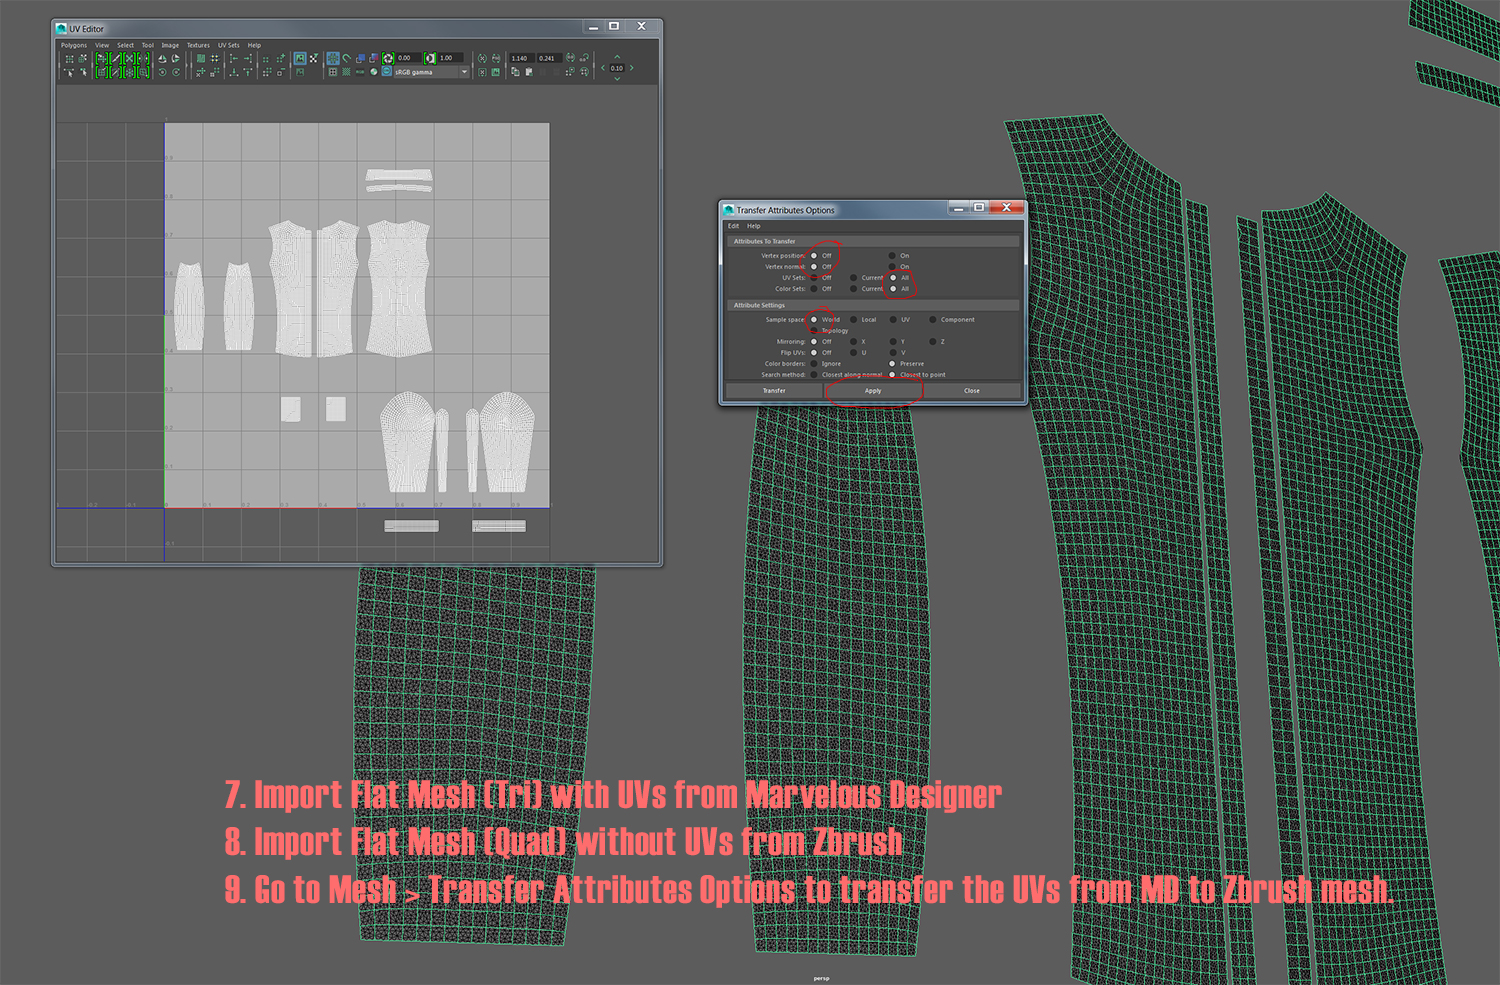
Now I have a clean quad mesh but I lost the UVs from MD because of Zremesher. That’s fine, I can recover the UVs in Maya by using Transfer Attributes. In this stage, I need to import two flat meshes. The original one with UVs from MD and the one that I have just quadrangulated in Zbrush. In order to transfer UVs, the Quad mesh’s edge borders need to be aligned perfectly over the Tri mesh. Zremesher will never give you a perfect result, so make sure you spend time to fix the quad mesh if needed.
- Import “MD_2D_Shirt.obj” and “ZB_2D_Shirt.obj”
- Select the source (Tri mesh) first “MD_2D_Shirt” then shift select the target (Quad mesh) “ZB_2D_Shirt”.
- Go to Mesh > Transfer Attributes Options. Make sure to use these settings.

Now my quad flat mesh has the same UV as the tri mesh. It was time to import the simulated mesh “MD_3D_Shirt.obj”. Since they both have the same UVs, I can transfer the vertex position of the flat mesh to the simulated mesh by using Transfer Attributes again. This time, make sure Vertex position is “on” and Sample space is “UV” in Attribute settings. Select the source mesh first (the simulated mesh) and shift select the target mesh (the Quad flat mesh). Click transfer to wrap the flat mesh to the simulated mesh, then delete history after that.

Done! now I have a lower poly with super clean topology and UVs.
TEXTURING
I used Substance Painter 2 for texturing. I will go through the steps of texturing her face. This technique is not the best for high realism, but for this project, it’s enough.

- This is just simply a flat color, a base skin tone layer.
- I created a fill layer and filled it with Ambient Occlusion map, set the blending mode to Multiply and opacity to 50% to only apply the dark parts of the AO. Then start adding some color on her eyebrows, eyes, and lips. This adds a bit of warmth to her face, and bring out her features.
- Once I was satisfied with the secondary layer, it was time to add some color variations. Human skin is divided into three color zones: Yellow, Red, and Blue. I create different layers and painting the face with those colors. Yellow/Golden forehead, Blue/Teal under the eyes and chin, Red cheeks and nose, Pink lips.
- In real life, these color zones are very subtle, so I set the opacity value of those layers to very low (4-13%) .
- Imperfect makes perfect. I add some subtle imperfections such as freckles, moles, and scars to breathe life into her.
- I add a dirt layer to bring out the “survival” feel.
- This is the roughness map. I baked a curvature map from the hi-poly and using it as a base roughness. I also created an adjustment layer “Levels” to tweak the roughness. In Rough/Metal PBR workflow, black (0.0) defines the smoothest surfaces and white (1.0) defines roughest surfaces. For example, the eyebrows are painted in white because I don’t want any reflection on it.
LIGHTING & RENDERING
After finishing the textures, I exported all the maps in PBR Metal Roughness preset to use them in Marmoset Toolbag 2, a real-time rendering application. Please note that you might need to change some settings in Marmoset Toolbag 2 in order to use texture maps exported from Substance Painter. Here is what I do.
- Normal: Flip Y channel
- Gloss: Invert True, Texture options > uncheck sRGB.
- Reflectivity: Specular to Metalness
- Reflection: Blinn/Phong to GCX
Once all the materials have already set up. It was time to move on the lighting. I spent a lot of time at this stage because Lighting is very important in my opinion. Lights are the most effective way to achieve dramatic results. It plays an important role in creating mood and emotion for the character. I tried many different lighting setups until I got the look I wanted, and this is the lighting setup that I used for this character.


Website: http://www.raythucle.com/
Facebook: https://www.facebook.com/ray.le.1112
Artstation: https://www.artstation.com/artist/rayle
Digital art, 3d art, 3d artist, 3d character art, character art, zbrush, zbrushtuts, 3d modeling, 3d, 3d sculpting, zbrush sculpting, 3d tutorial, zbrush tutorial, tutorial zbrush, free zbrush tutorial